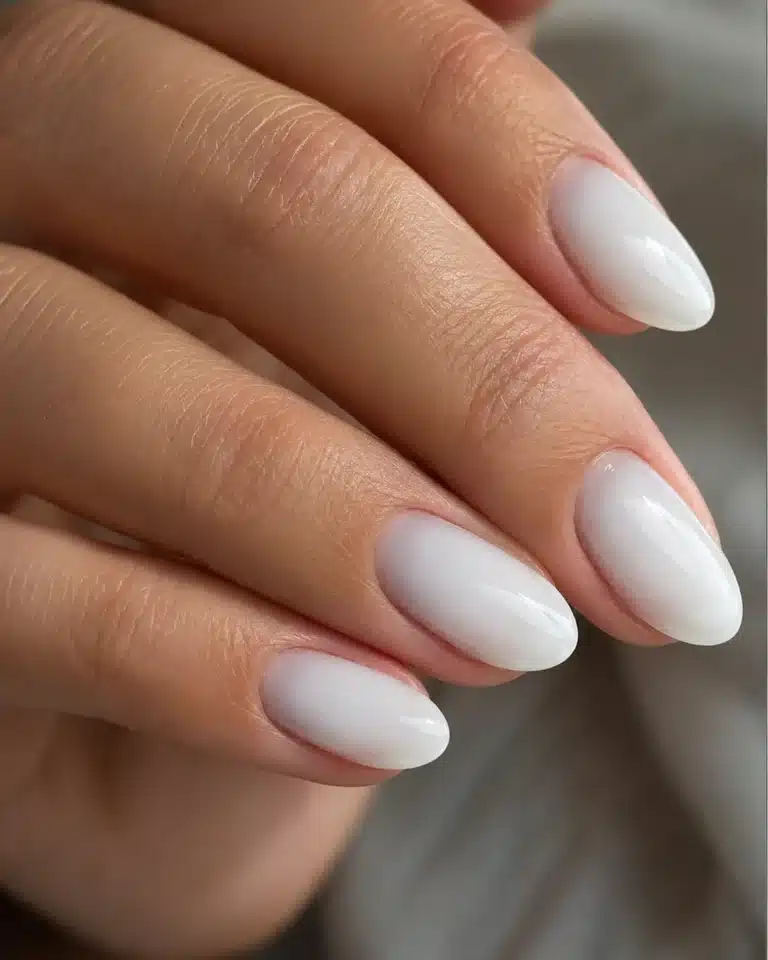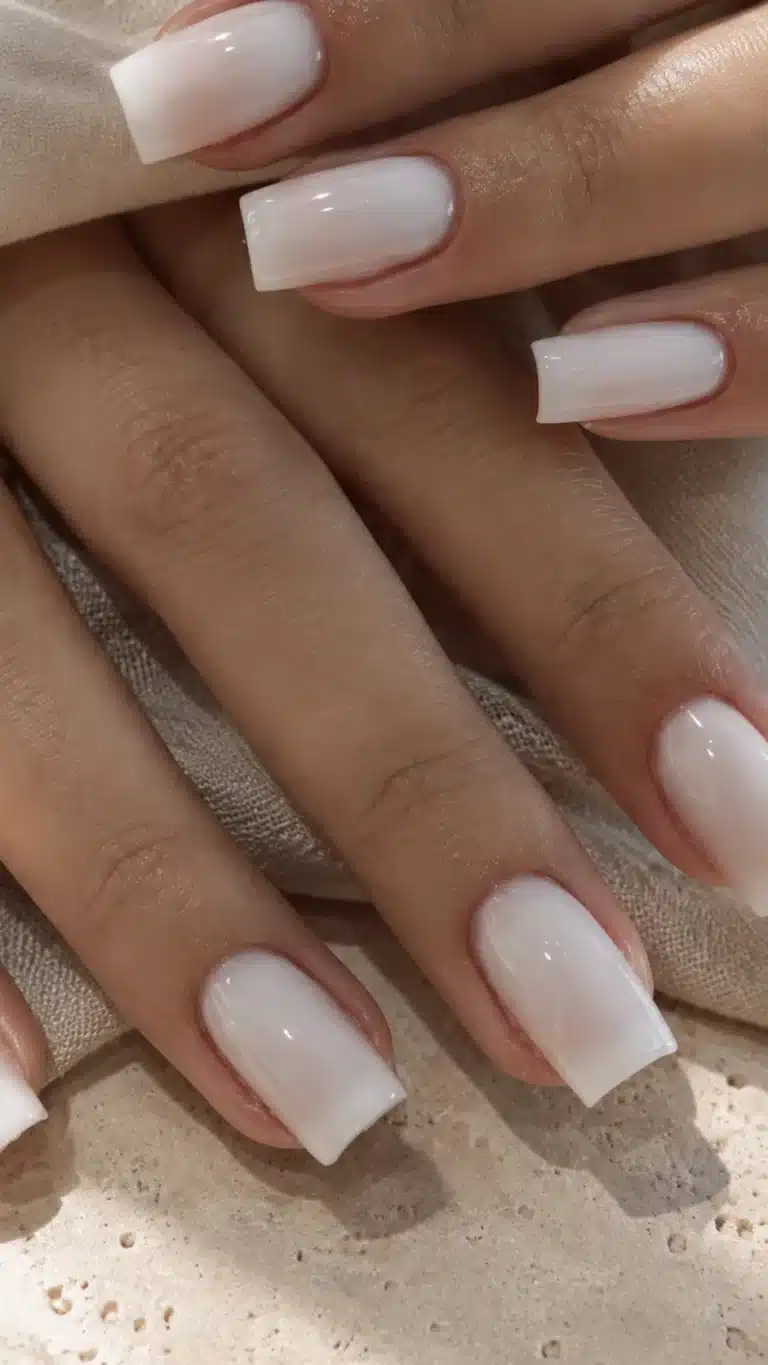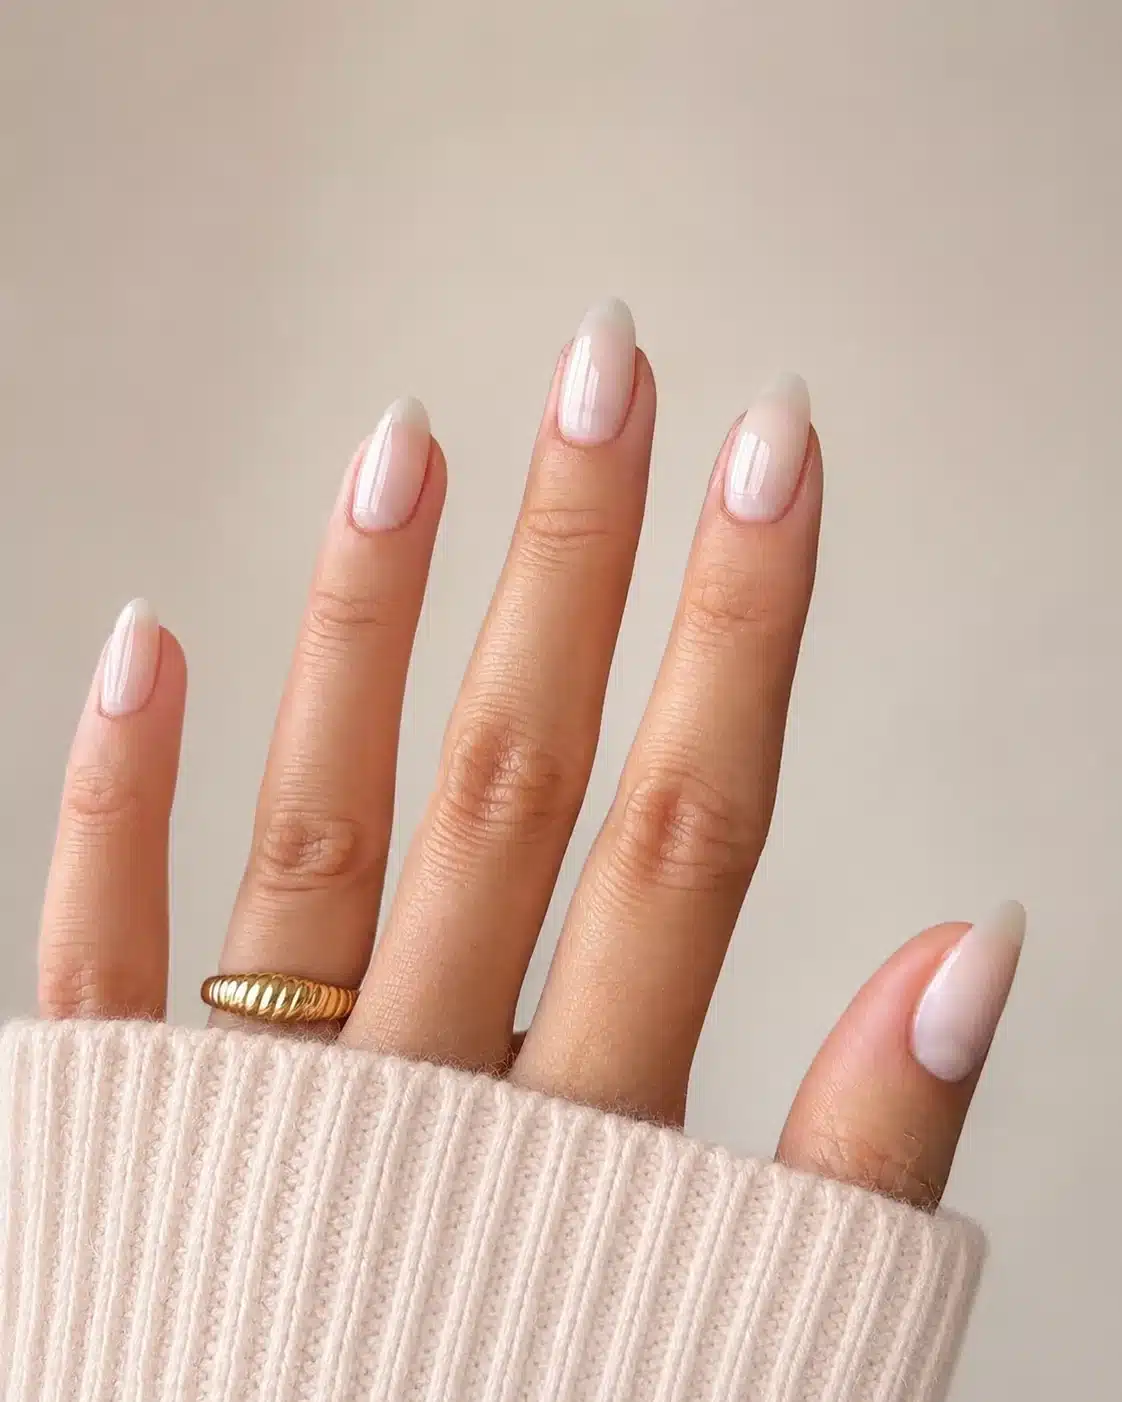
Milky white acrylic nails turn a classic white set into something softer: creamy, glossy and translucent enough to keep visual depth. The effect sits between clear acrylic and stark opaque white, so it can look clean and minimal on short squares or more dramatic on long almond and coffin extensions.
This edit follows the strongest proven milky-manicure angles shape, opacity and finish but keeps the focus specifically on acrylic construction. You will find 10 references ranging from overlays and floral encapsulation to marble, shimmer and snowy white. For the wider color-and-art gallery, start with Nail Color Designs.
Key Takeaways
- Milky white acrylic sits between clear and opaque white, creating a creamy translucent finish.
- Square, almond, coffin and short shapes change how the same cloudy color reads.
- Chrome, shimmer, marble and floral details work best when the acrylic structure stays balanced and the milky base remains visible.
What Are Milky White Acrylic Nails?
Milky white acrylic nails use acrylic structure with a cloudy white appearance that is neither fully clear nor fully opaque. A nail professional may control the effect by combining compatible clear and soft white powders or by building a clear acrylic structure and adding a compatible sheer milky finish. The correct method depends on the system and the service being performed.
The broad design family includes natural, gel, polish and extension looks. This article stays on acrylic structure; the existing milky white nail designs page is the broader visual parent.
Acrylic liquids, powders, primers and removers can carry specific warnings and require ventilation and careful handling. Read the FDA guidance on nail-care products before choosing or using an acrylic system.
How to Wear Milky White Acrylic Nails
Start with opacity. A sheer milk effect lets more of the underlying structure show through, while extra creamy coverage appears softer than stark white but more uniform. Then choose the shape: square emphasizes clean edges, almond makes the tone feel fluid, coffin gives the acrylic more visible surface, and shorter lengths keep the look practical.
Finish changes the mood just as quickly. Pearl and chrome reflect light, marbling creates movement, and flowers or gold details add decoration. Compare reflective options in milky white chrome nails before deciding how much shine belongs in the set.
10 Milky White Acrylic Nail Ideas
1. Classic Milky White Acrylic Overlay
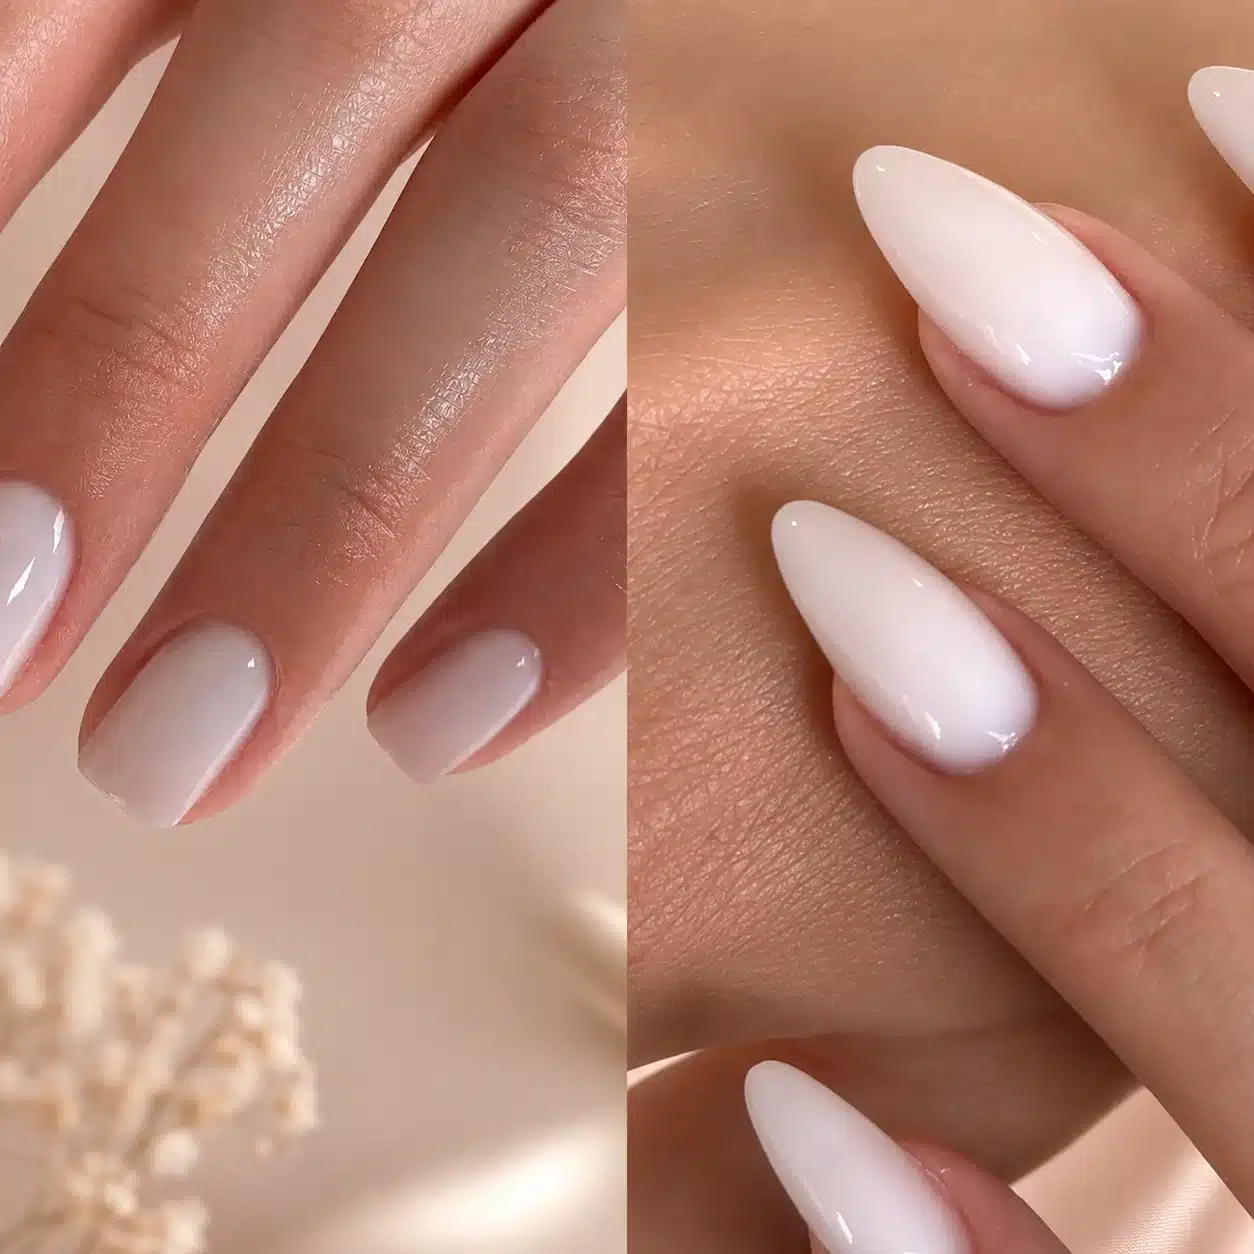
The classic overlay shows the core appeal of the trend: a soft cloud of white that still has depth. It works when you want an understated acrylic set without nail art.
How to Recreate This Look
- Prep: Assess the natural nail, complete appropriate preparation and choose the extension method before applying acrylic.
- Shape: Build or refine a soft almond outline with balanced sidewalls and an apex suited to the length.
- Prepare the color: Use clear acrylic and soft white acrylic, keeping the working ratio and application method within the selected product system.
- Create the finish: Blend a small amount of soft white into clear acrylic, then build a balanced translucent overlay without turning the finish chalky.
- Refine and seal: File the structure only when ready, remove dust safely and use a compatible glossy finish according to its directions.
Affiliate disclosure: this exact-product button is an Amazon link. NailsDes may qualify for a commission; check the current product page and follow all manufacturer directions.
Mia Secret Liquid Monomer + Clear Acrylic Powder System
A matched clear acrylic and monomer set for building the translucent structure before adding a milky tint.
Check current price on Amazon2. Milky Floral Almond Acrylics
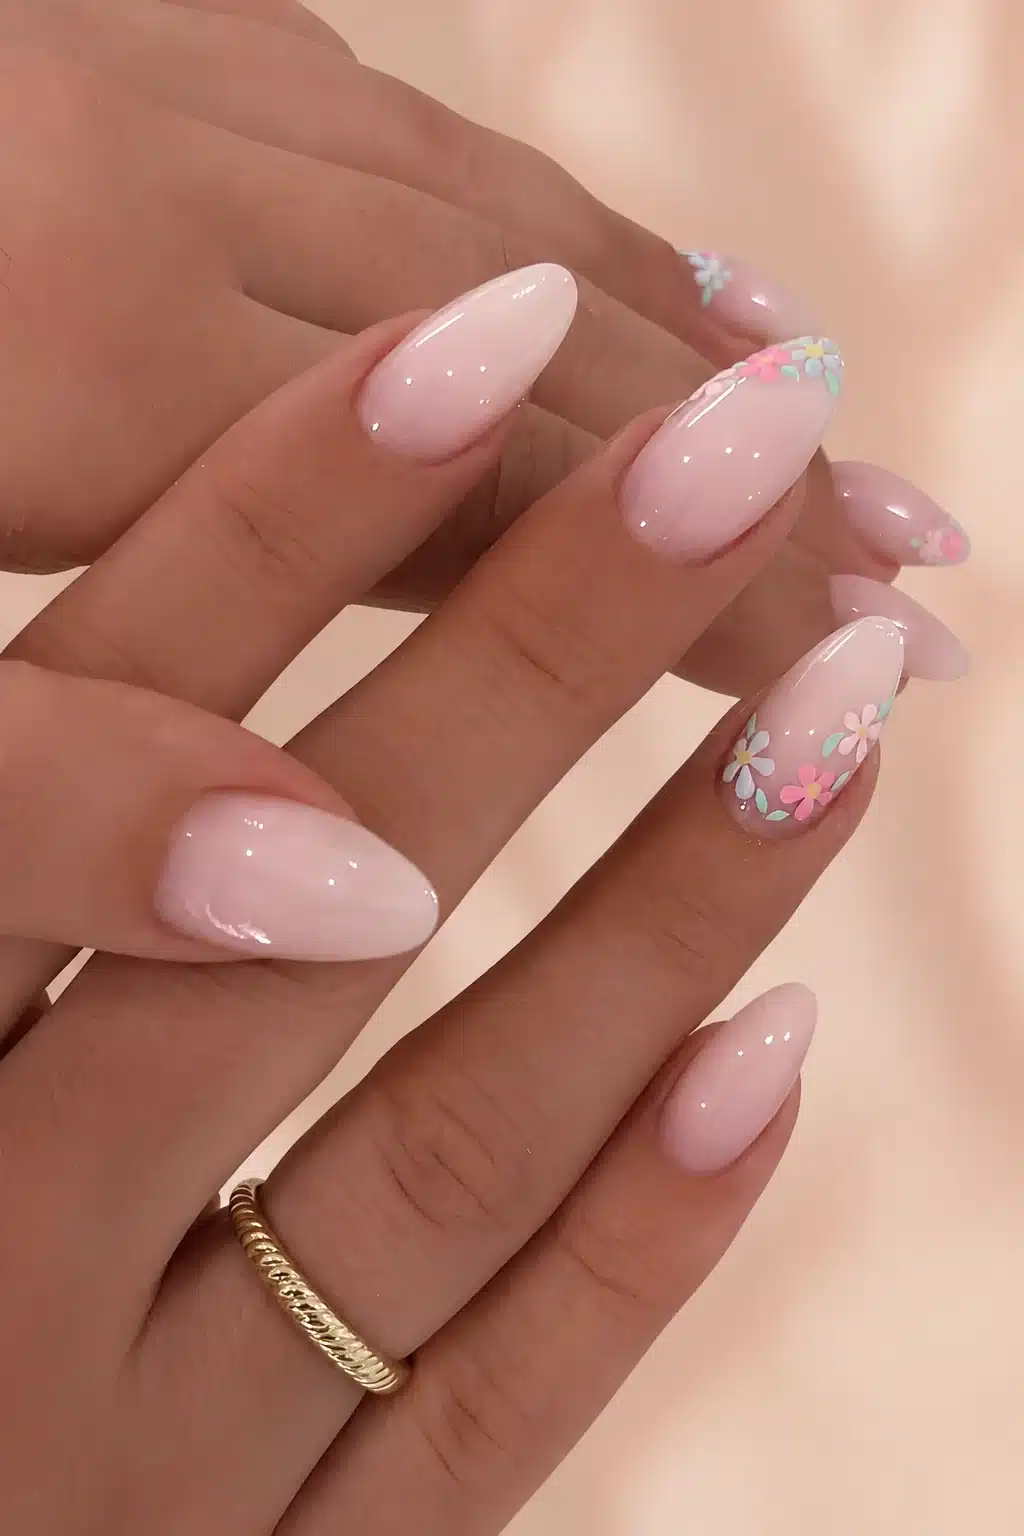
Delicate flowers give the creamy base a romantic direction. Keeping most nails plain protects the clean every-mani-vibe quality that makes milky white versatile. For related decorative details, compare milky white nails with design.
How to Recreate This Look
- Prep: Assess the natural nail, complete appropriate preparation and choose the extension method before applying acrylic.
- Shape: Build or refine a medium almond outline with balanced sidewalls and an apex suited to the length.
- Prepare the color: Use a milky base with delicate white florals, keeping the working ratio and application method within the selected product system.
- Create the finish: Build the milky structure first, place the floral detail on selected nails, and keep the remaining nails plain so the design stays airy.
- Refine and seal: File the structure only when ready, remove dust safely and use a compatible glossy finish according to its directions.
3. Clean Square Milky White Acrylics
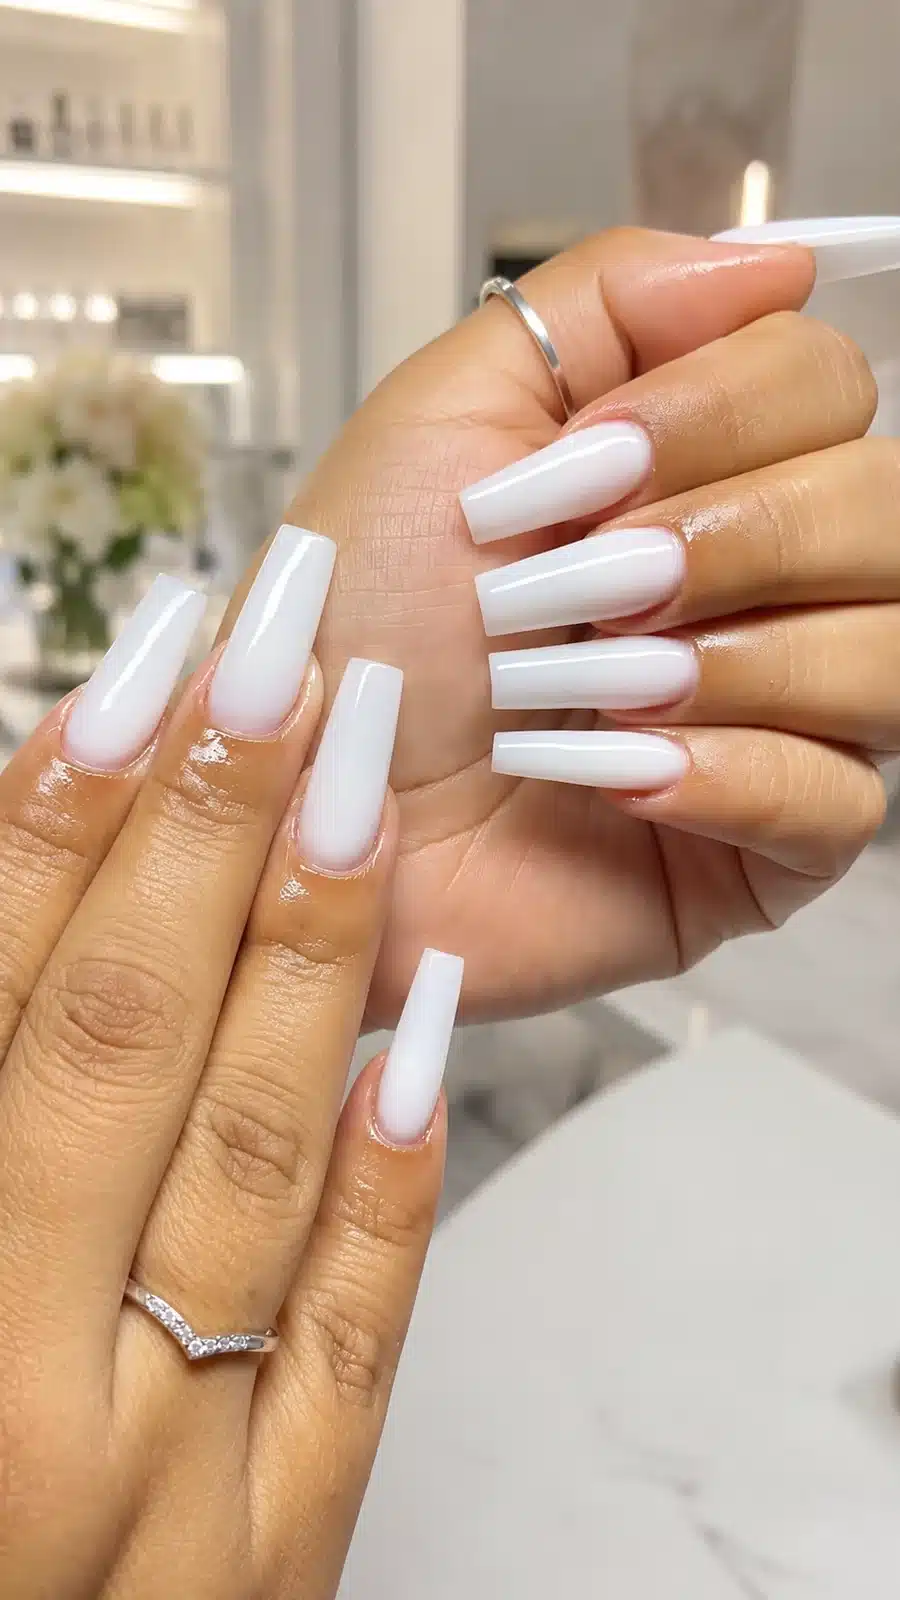
A square shape makes the milky tone look crisp and architectural. The structure and free edge need to stay even because creamy white highlights differences in thickness.
How to Recreate This Look
- Prep: Assess the natural nail, complete appropriate preparation and choose the extension method before applying acrylic.
- Shape: Build or refine a medium square outline with balanced sidewalls and an apex suited to the length.
- Prepare the color: Use creamy white acrylic, keeping the working ratio and application method within the selected product system.
- Create the finish: Keep the sidewalls straight, distribute the acrylic evenly and refine the free edge so the cloudy color looks crisp rather than bulky.
- Refine and seal: File the structure only when ready, remove dust safely and use a compatible glossy finish according to its directions.
Mia Secret White Acrylic Powder — 4 oz
A white acrylic powder that can be combined carefully with clear acrylic to control opacity.
Check current price on Amazon4. Shimmer Almond Milky Acrylic Nails
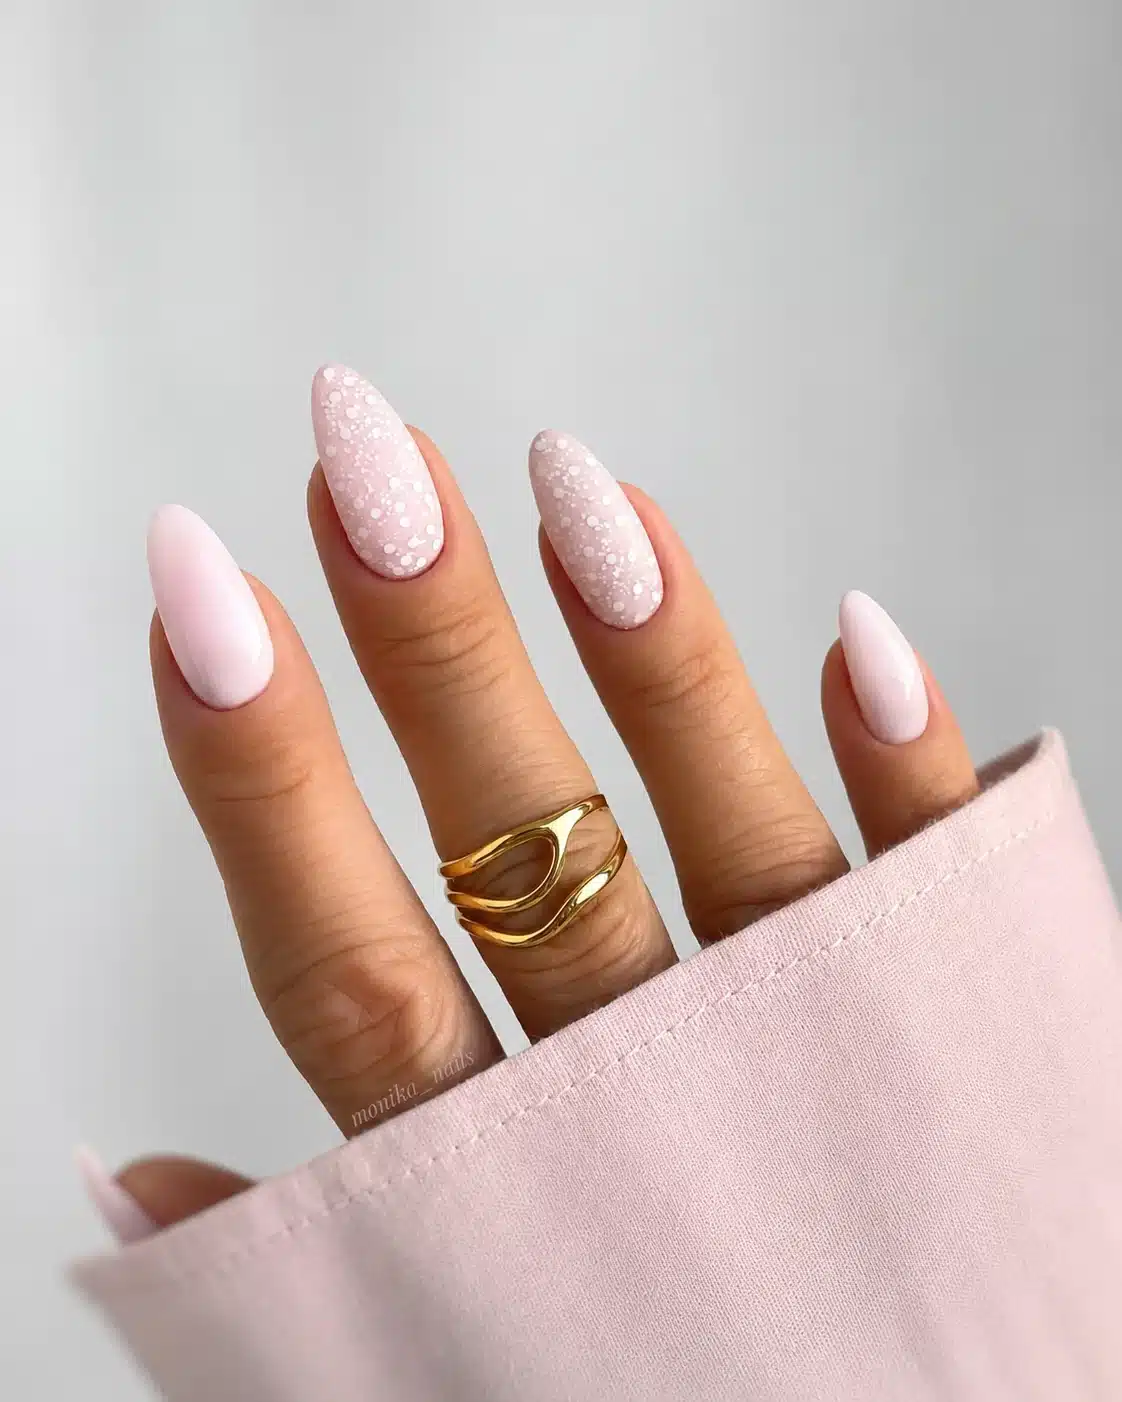
Fine shimmer adds movement without covering the milk effect. Almond tips give the gradient more space and keep the reflective accent soft.
How to Recreate This Look
- Prep: Assess the natural nail, complete appropriate preparation and choose the extension method before applying acrylic.
- Shape: Build or refine a long almond outline with balanced sidewalls and an apex suited to the length.
- Prepare the color: Use milky white with fine pearly shimmer, keeping the working ratio and application method within the selected product system.
- Create the finish: Place shimmer on one or two accent nails or fade it toward the tips, preserving the semi-translucent base across the rest of the set.
- Refine and seal: File the structure only when ready, remove dust safely and use a compatible glossy finish according to its directions.
5. Long Coffin Milky White Acrylic Nails
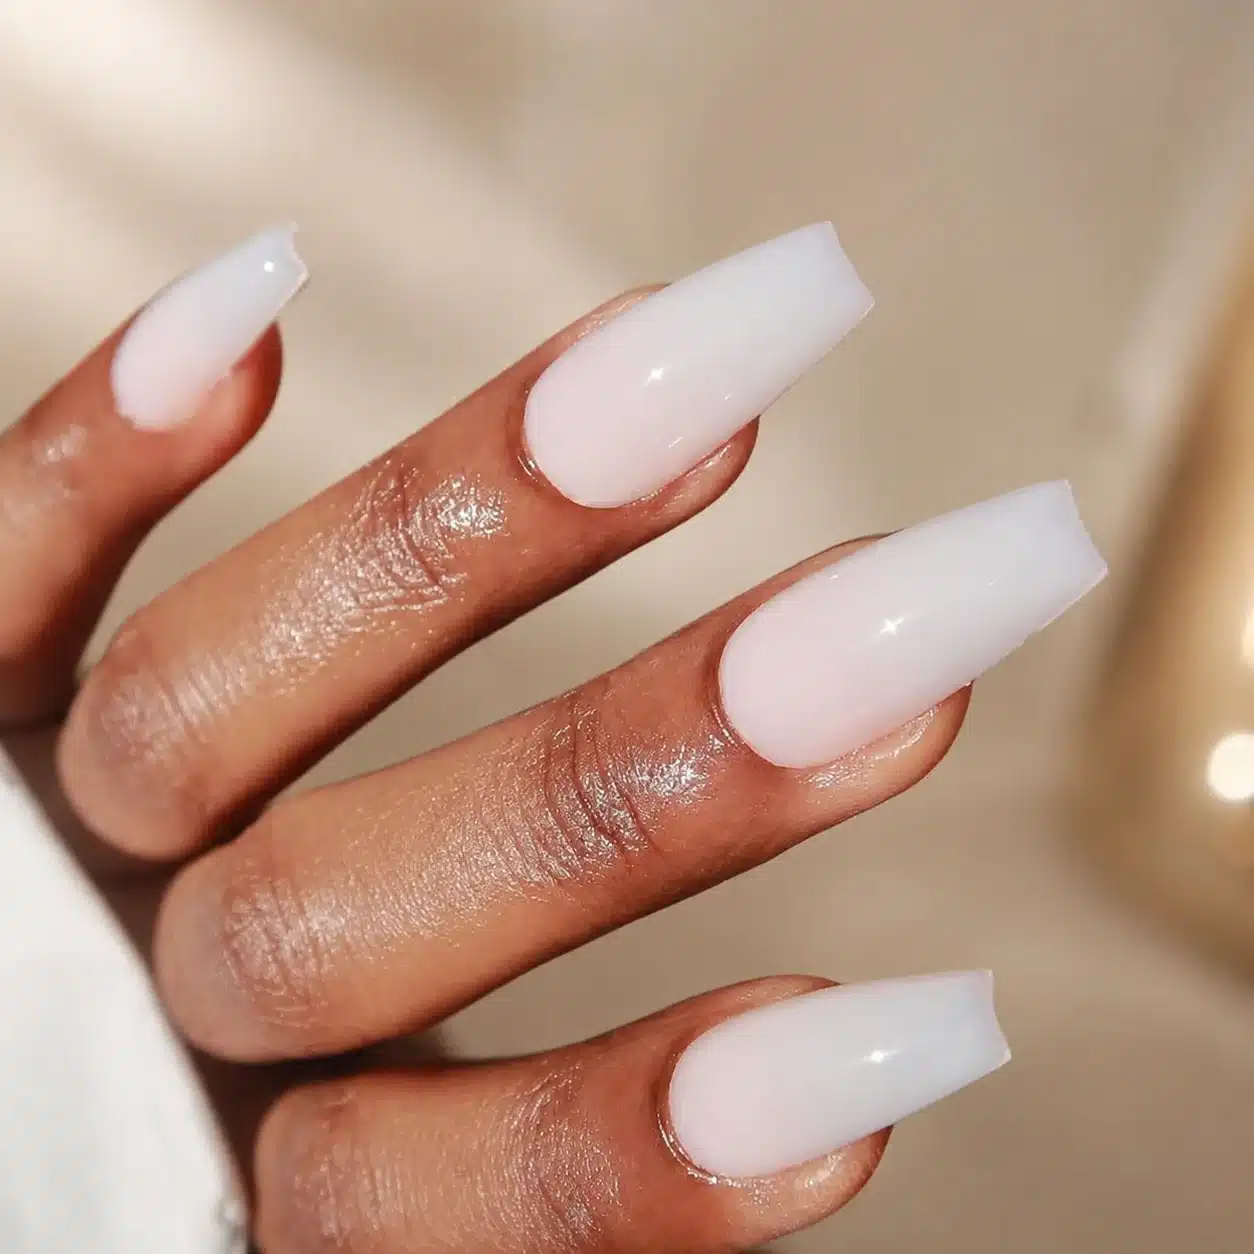
Long coffin nails make an opaque milk finish feel bold. Softly blurred edges stop the white from reading as flat correction-fluid color. For the color-layer alternative rather than acrylic construction, see milky white gel nail polish.
How to Recreate This Look
- Prep: Assess the natural nail, complete appropriate preparation and choose the extension method before applying acrylic.
- Shape: Build or refine a long coffin outline with balanced sidewalls and an apex suited to the length.
- Prepare the color: Use a more opaque creamy milk tone, keeping the working ratio and application method within the selected product system.
- Create the finish: Create the coffin taper during the structure stage, then use a controlled creamy layer that remains softly blurred around the edges.
- Refine and seal: File the structure only when ready, remove dust safely and use a compatible glossy finish according to its directions.
6. Cool-Toned Milky Almond Acrylics
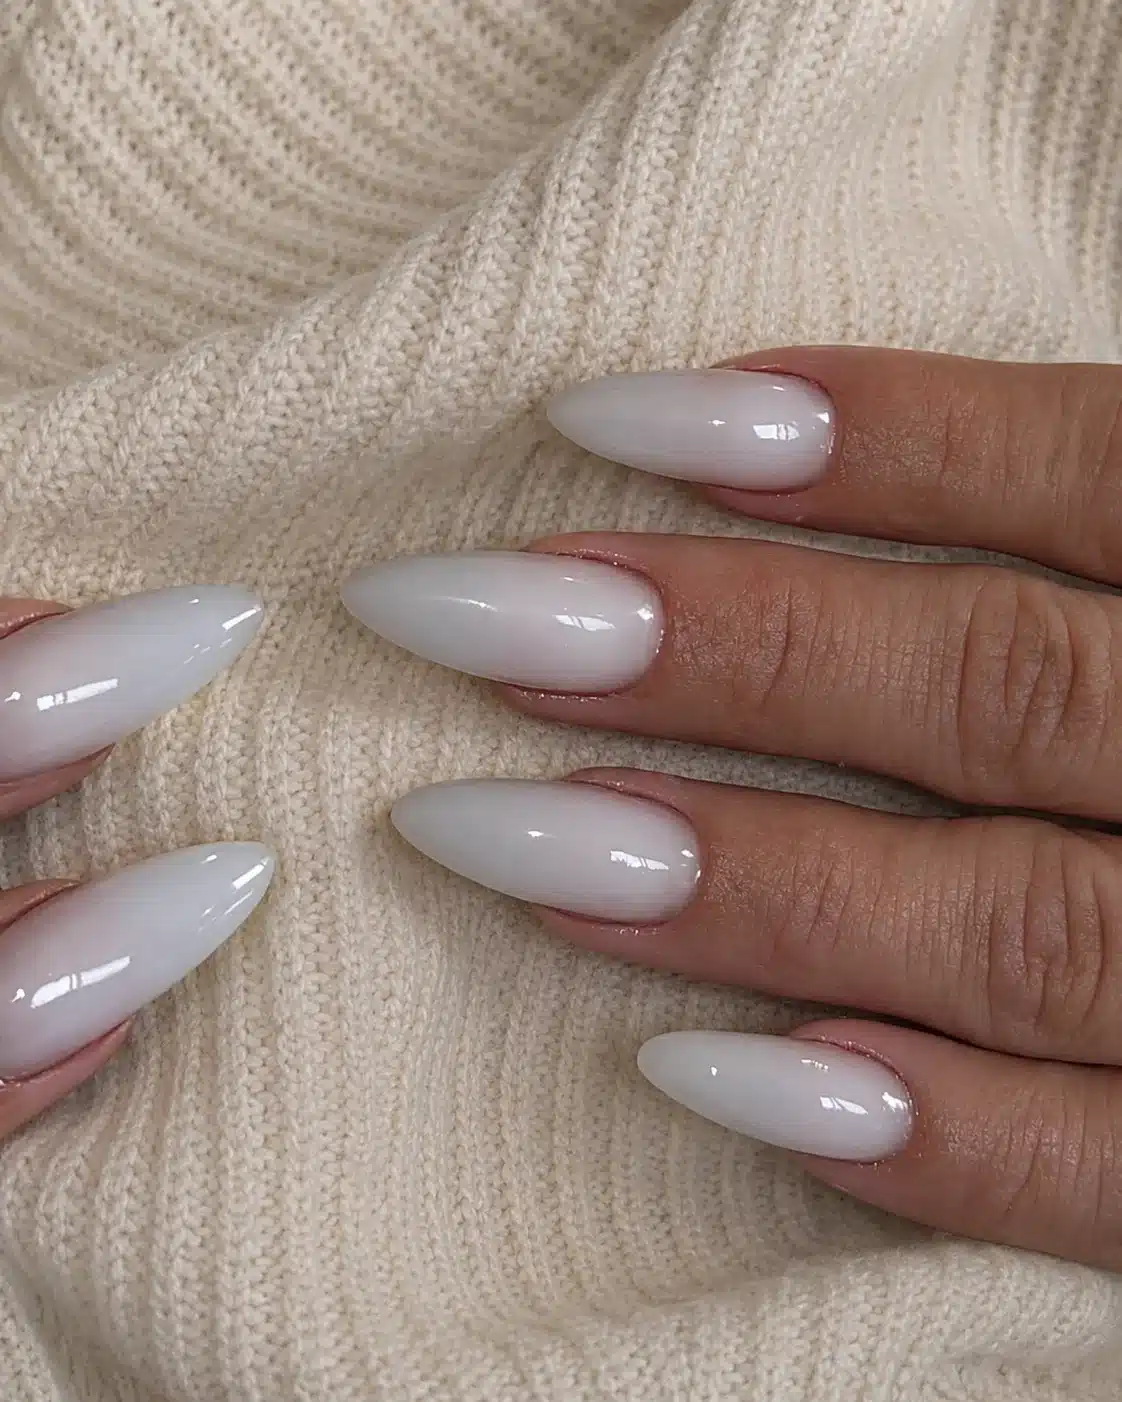
A cool gray-white milk gives the neutral a modern mood. It is useful when warm cream looks too yellow, but the tone should still remain luminous.
How to Recreate This Look
- Prep: Assess the natural nail, complete appropriate preparation and choose the extension method before applying acrylic.
- Shape: Build or refine a long almond outline with balanced sidewalls and an apex suited to the length.
- Prepare the color: Use cool gray-white milk, keeping the working ratio and application method within the selected product system.
- Create the finish: Use a cool milky tint over a clear structure and compare it against the skin before building full opacity; the goal is translucent depth, not stark gray.
- Refine and seal: File the structure only when ready, remove dust safely and use a compatible glossy finish according to its directions.
7. Snowy Milky White Acrylic Nails

Snowy white and a restrained reflective accent create a seasonal version. The shape carries the drama, so the decoration can stay minimal. A softer French direction appears in white and gold almond French tips.
How to Recreate This Look
- Prep: Assess the natural nail, complete appropriate preparation and choose the extension method before applying acrylic.
- Shape: Build or refine a long tapered coffin outline with balanced sidewalls and an apex suited to the length.
- Prepare the color: Use snowy white with a soft shimmer accent, keeping the working ratio and application method within the selected product system.
- Create the finish: Keep most nails creamy and simple, then add a restrained snowy or reflective accent before capping and refining the surface.
- Refine and seal: File the structure only when ready, remove dust safely and use a compatible glossy finish according to its directions.
8. Short Square Milky White Acrylic Nails
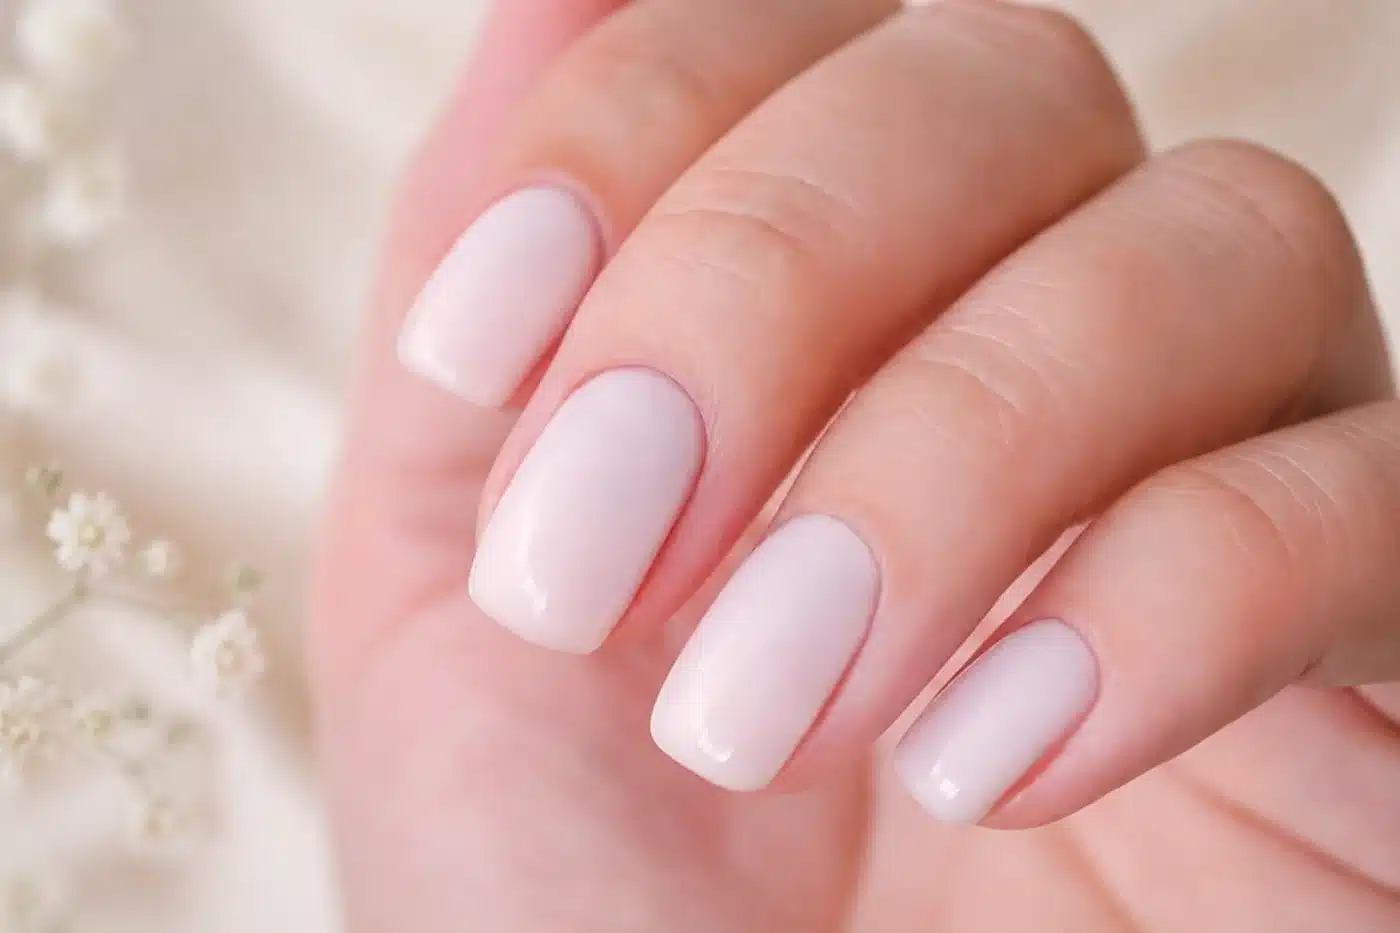
Short square acrylics prove the look does not depend on length. A thin overlay, tidy sidewalls and high gloss create the polished result. Shorter full-set proportions can also be compared with pink and white full set nails.
How to Recreate This Look
- Prep: Assess the natural nail, complete appropriate preparation and choose the extension method before applying acrylic.
- Shape: Build or refine a short square outline with balanced sidewalls and an apex suited to the length.
- Prepare the color: Use sheer-to-creamy milky white, keeping the working ratio and application method within the selected product system.
- Create the finish: Use a thin, well-balanced overlay and a neat square outline; shorter nails need less bulk and a clean cuticle transition.
- Refine and seal: File the structure only when ready, remove dust safely and use a compatible glossy finish according to its directions.
9. Marbled Milk Acrylic Nails
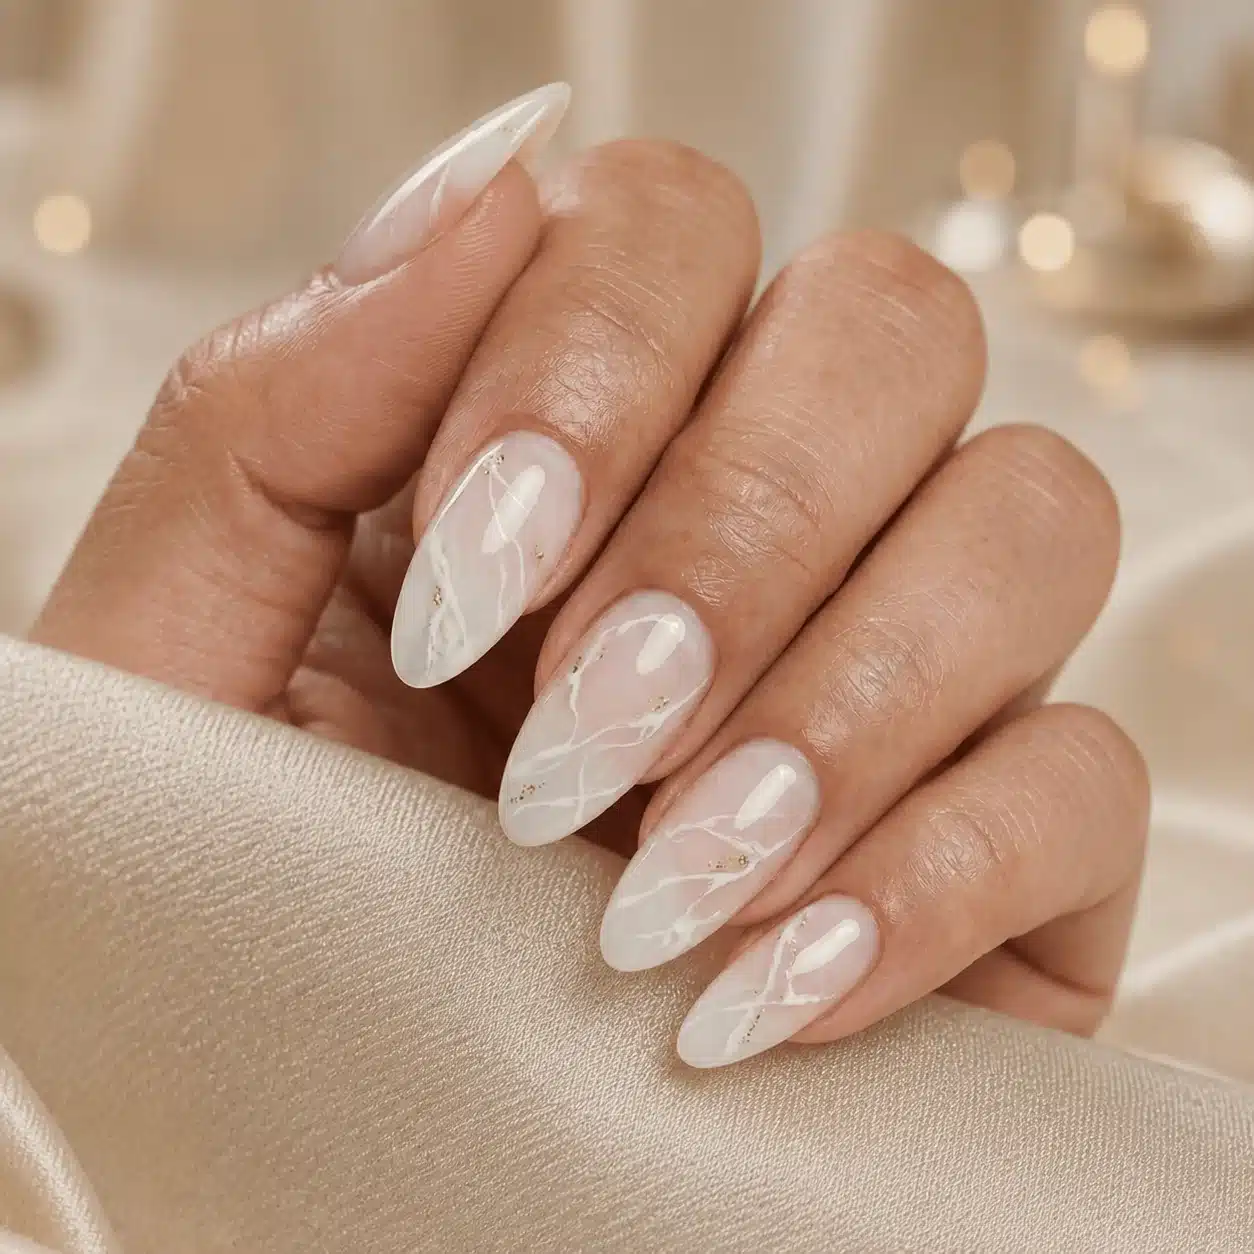
Marbled milk copies the movement of white blending into clear. The design needs visible variation rather than a fully mixed flat gray-white bead.
How to Recreate This Look
- Prep: Assess the natural nail, complete appropriate preparation and choose the extension method before applying acrylic.
- Shape: Build or refine a medium almond outline with balanced sidewalls and an apex suited to the length.
- Prepare the color: Use clear and milky white acrylic, keeping the working ratio and application method within the selected product system.
- Create the finish: Place small beads of clear and milky white side by side, feather the boundary gently and cap the swirl without flattening its depth.
- Refine and seal: File the structure only when ready, remove dust safely and use a compatible glossy finish according to its directions.
10. Clear Floral Encapsulated Acrylics
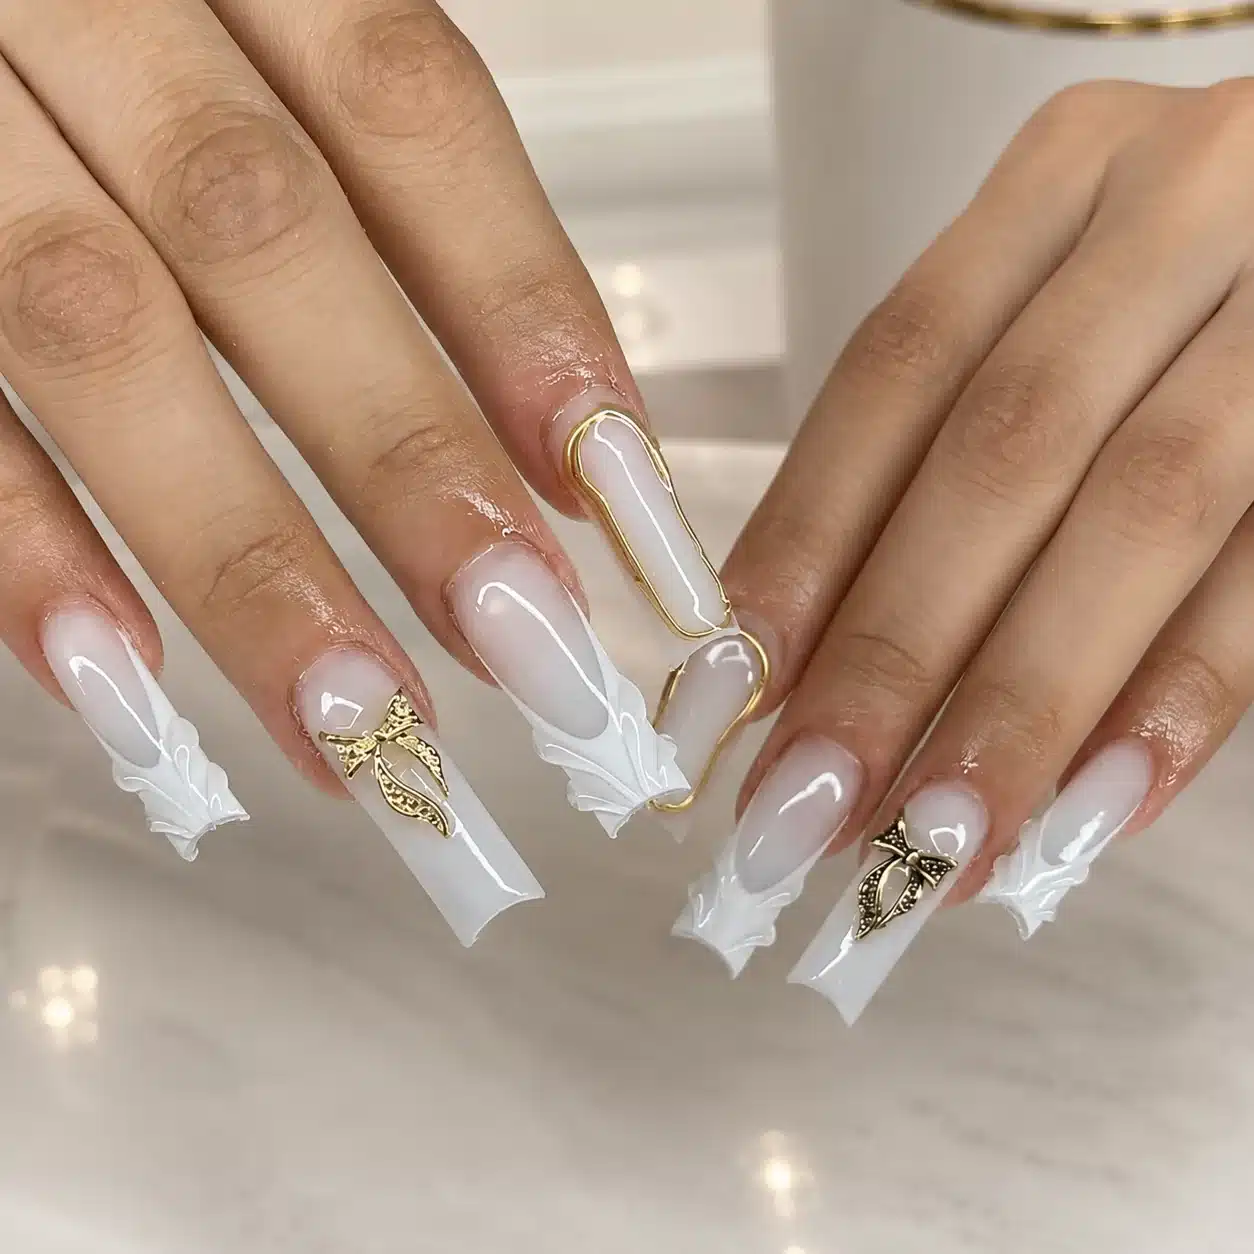
Clear floral encapsulation uses milky accents as framing. Capping protects the embedded design and preserves the transparent windows around it.
How to Recreate This Look
- Prep: Assess the natural nail, complete appropriate preparation and choose the extension method before applying acrylic.
- Shape: Build or refine a long coffin outline with balanced sidewalls and an apex suited to the length.
- Prepare the color: Use clear acrylic, milky white accents and floral pieces, keeping the working ratio and application method within the selected product system.
- Create the finish: Secure the decoration in a controlled layer, cap it completely with clear acrylic and file only after the encapsulated structure is protected.
- Refine and seal: File the structure only when ready, remove dust safely and use a compatible glossy finish according to its directions.
Young Nails Acrylic Core Powder — Clear, 85 g
A clear acrylic powder option for capping marbled or encapsulated details.
Check current price on AmazonHow to Ask for Milky White Acrylic Nails at a Salon
Show the reference closest to your goal and describe five things: acrylic service, length, shape, opacity and finish. For example: ‘I want medium almond acrylics in a semi-sheer creamy white, with two pearly shimmer accents and a high-gloss finish.’ Saying ‘milky white’ alone can lead to anything from nearly clear to opaque snow white.
Also identify what you do not want. If a chalky solid white feels too bright, ask to see the milky mixture or swatch before the full set is built. If you want acrylic color rather than a gel layer over acrylic, say that clearly so the service matches the reference.
Frequently Asked Questions
What nail color is milky white?
Milky white is a creamy, semi-translucent off-white that sits between sheer white and fully opaque white. On acrylic nails, the effect can come from mixing clear and soft white powder or placing a sheer milky color over a clear structure.
Are milky white nails classy?
They are often perceived as polished because the color is neutral, glossy and understated. The final result depends on balanced structure, consistent shaping and a clean transition around the cuticle.
How to do milky white nails?
For acrylic construction, a trained nail professional can blend clear and soft white acrylic to control translucency, build the chosen shape, refine the surface and finish it with a compatible glossy top coat. At home, use only a product system you understand and follow every label and safety direction.
What color to ask for for milky white nails?
Ask for a sheer or semi-sheer creamy off-white rather than stark opaque white. Also specify whether you want the tone neutral, pink-leaning, almond-tinted, cool, snowy or finished with pearl or chrome.
Conclusion
Milky white acrylic nails work because the finish balances clear depth with creamy coverage. Choose the opacity first, then let square, almond, coffin or short proportions define the mood. Chrome, shimmer, flowers and marble should support the milk effect instead of hiding it.