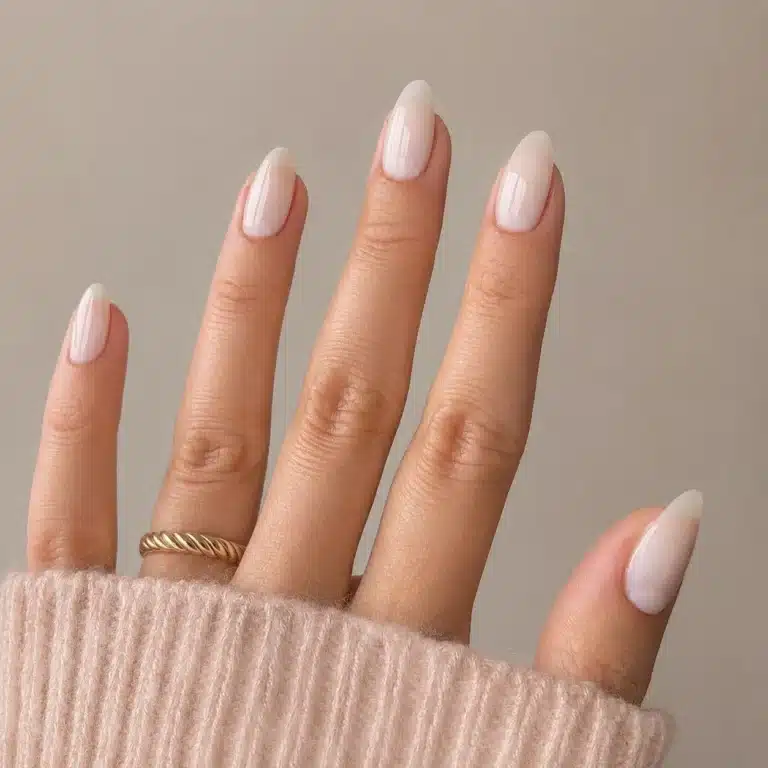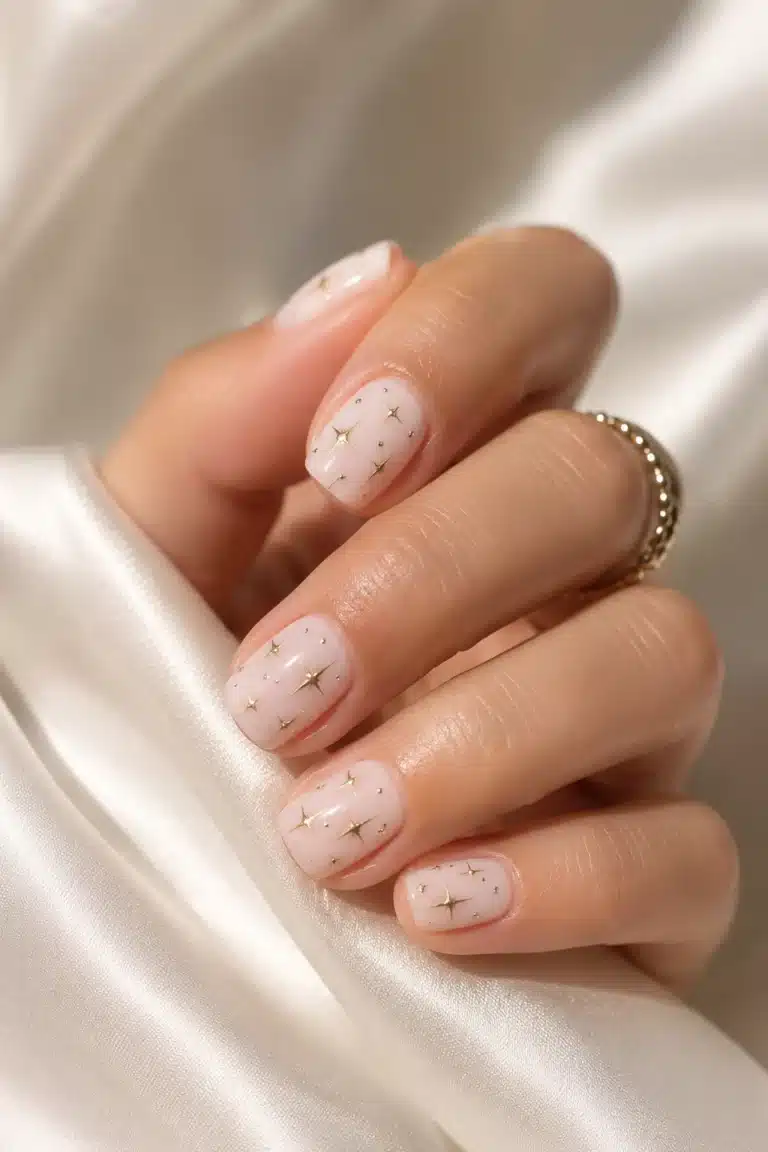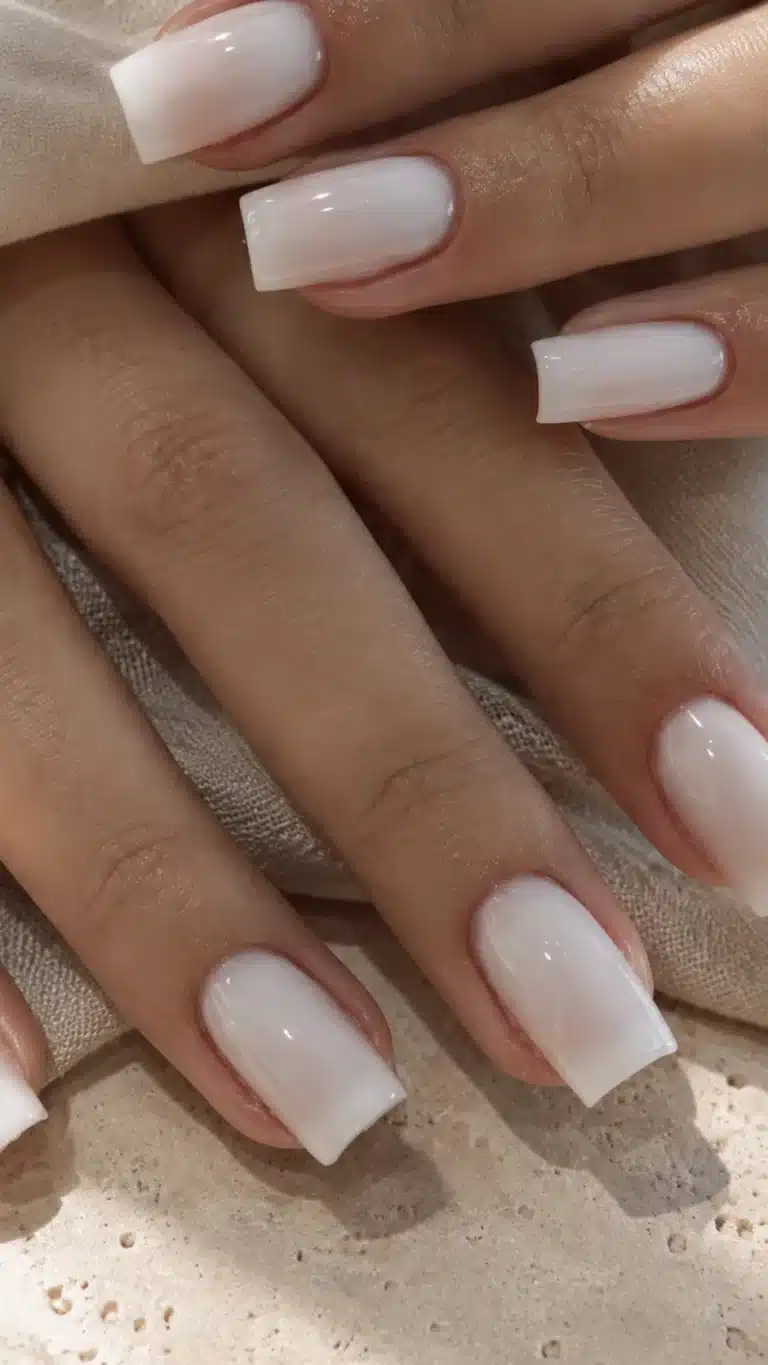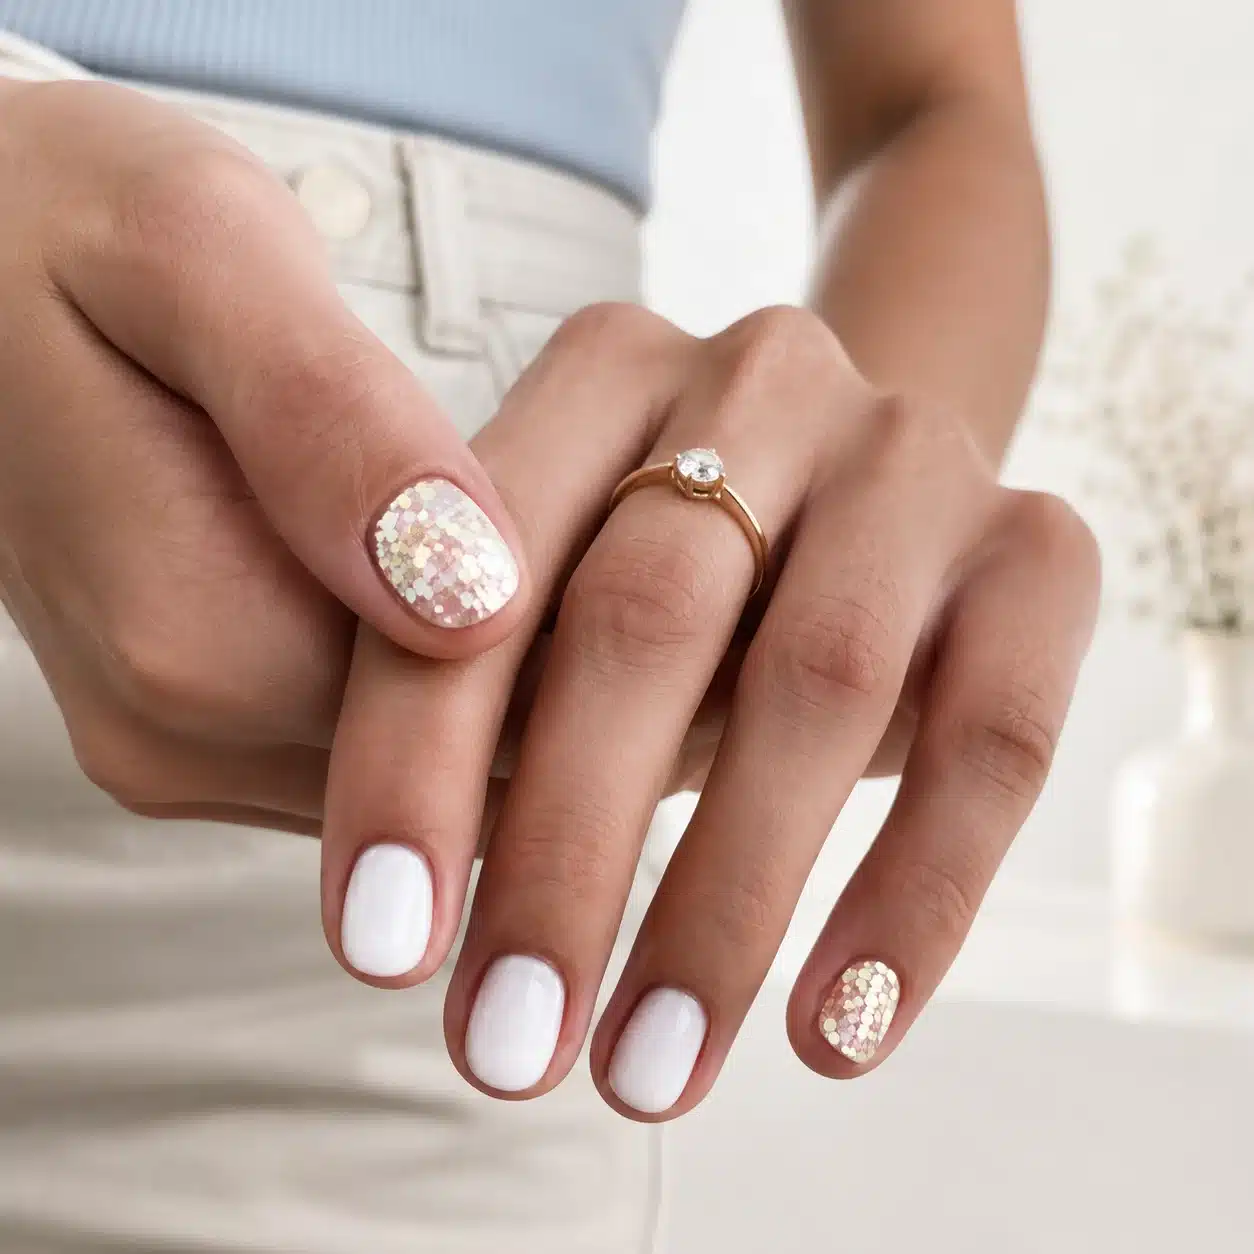
Milky white nails with glitter combine a translucent, cloudy-white base with deliberately placed sparkle. The most polished versions protect the soft milk effect: the glitter appears as a fine fade, slim French edge, pearl veil, or controlled accent instead of covering every nail with dense shine.
This guide shows ten distinct ways to balance base opacity, glitter size, placement, shape, and finish. Each look includes practical preparation and application steps, plus clear wording you can take to a nail appointment.
For the wider color family, browse the existing Nail Color Designs collection.
Key Takeaways
- Keep the milky base translucent and use fine glitter when you want a clean result.
- Tip fades, micro French lines, and one accent nail preserve more open space than full coverage.
- Ask for the exact undertone, opacity, glitter size, placement, and finish at the salon.
Table of Contents
What Are Milky White Nails With Glitter?
The style starts with a sheer or semi-sheer off-white that lets light pass through the manicure. Glitter is then placed as a supporting finish. For broader motifs beyond sparkle, compare these milky white nail designs.
The base may lean neutral, pink, beige, or cool. Fine silver glitter looks icy, champagne gold feels warmer, and iridescent flakes shift through several colors. The key distinction is density: enough sparkle to catch light, but enough clear milky space to retain depth.
Why This Soft-Sparkle Manicure Works
Glitter supplies contrast while the milk base keeps the overall look restrained. Readers who prefer reflective rather than particle-based shine can compare the finish with milky white chrome nails.
The combination also adapts to multiple lengths and occasions. A micro-glitter edge works for everyday wear, a gold fade suits events, and iridescent flakes create a more playful result without requiring an opaque background.
10 Milky White Nails With Glitter Ideas
1. Fine Silver Glitter Ombré
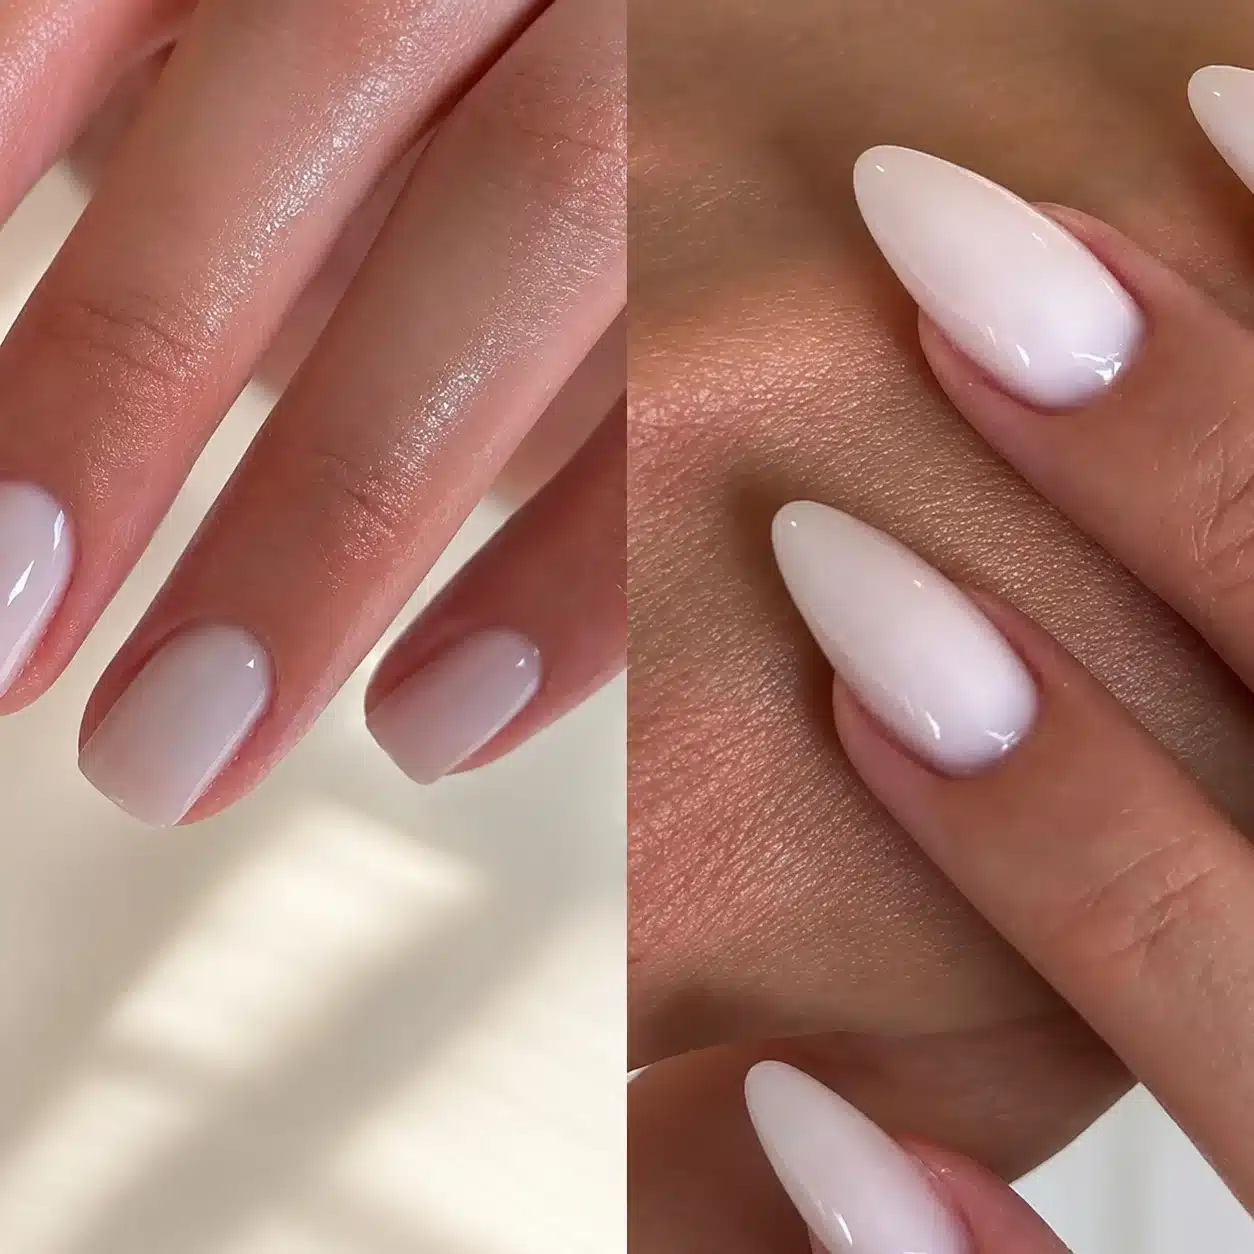
A sheer milk base fades into fine silver sparkle at the tips, adding light without hiding the cloudy color.
How to Get the Look
Refine the shape and apply a smoothing base. Build two thin milky coats, then tap fine silver glitter onto the free edge with a small sponge or detail brush. Fade the particles toward the center, cure or dry each compatible layer, and seal the texture with glossy top coat.
2. Milky Pink Glitter Veil
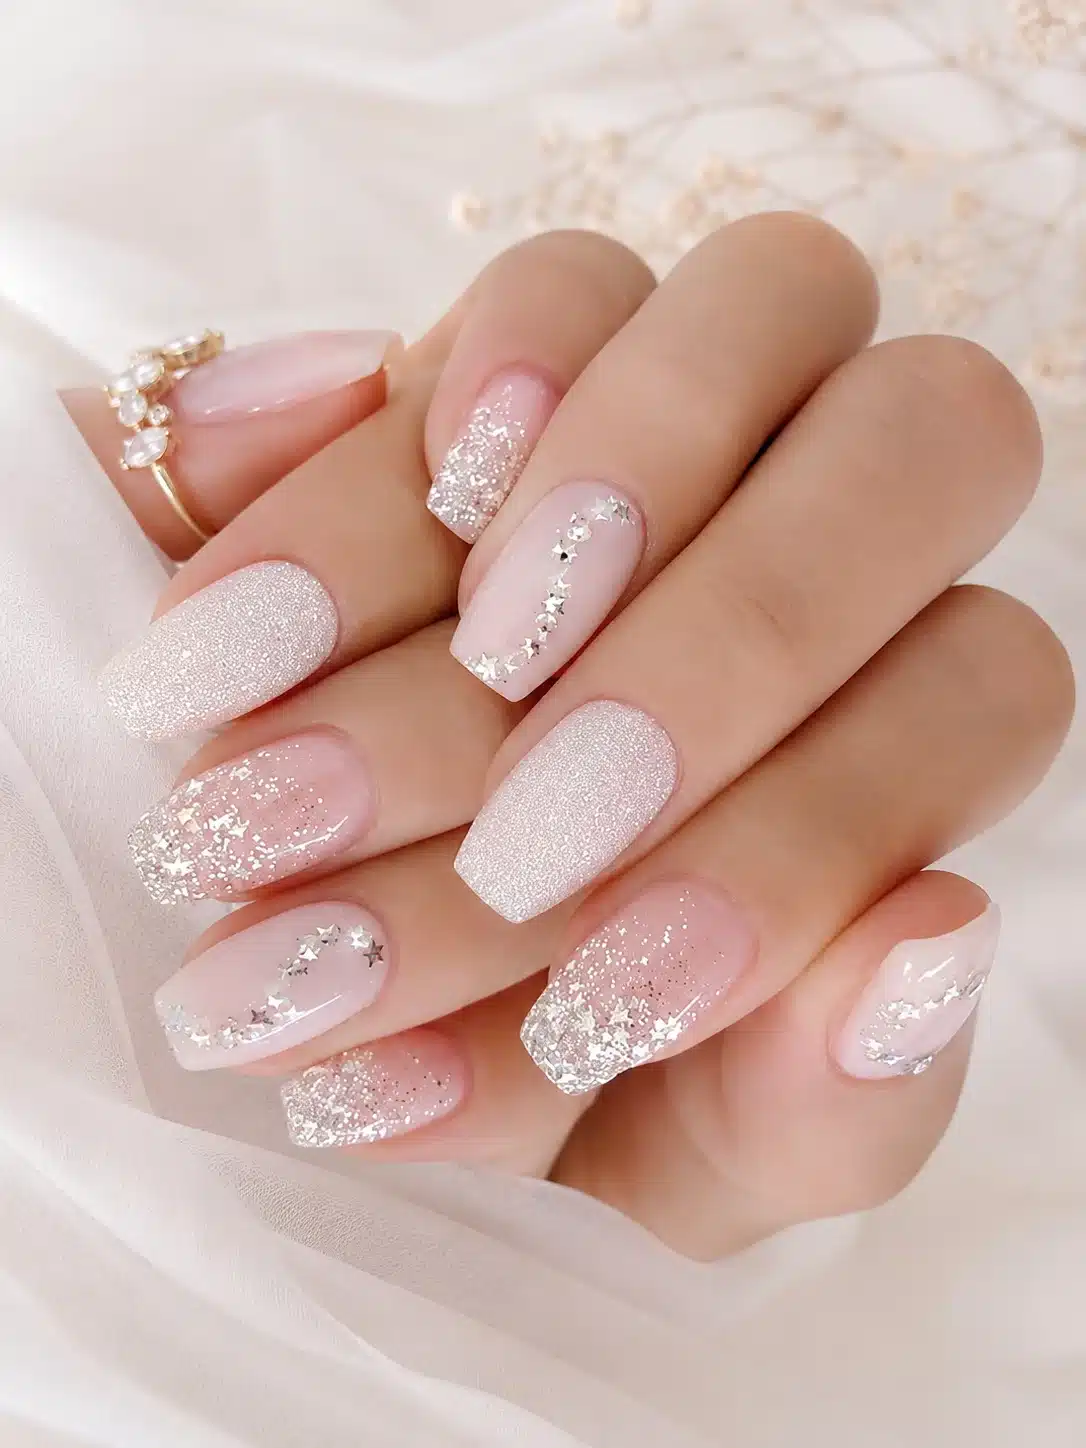
A blush undertone softens the white and makes scattered glitter feel warm rather than icy.
A blush base moves closer to the warmer family shown in these milky pink almond nails.
How to Get the Look
Choose a pink-leaning milk shade and apply it thinly. Mix a small amount of fine glitter into clear gel or layer a sheer shimmer coat over the cured base. Keep the sparkle translucent, clean the sidewalls, and finish with a non-yellowing gloss.
3. Iridescent Snow-Globe Glitter
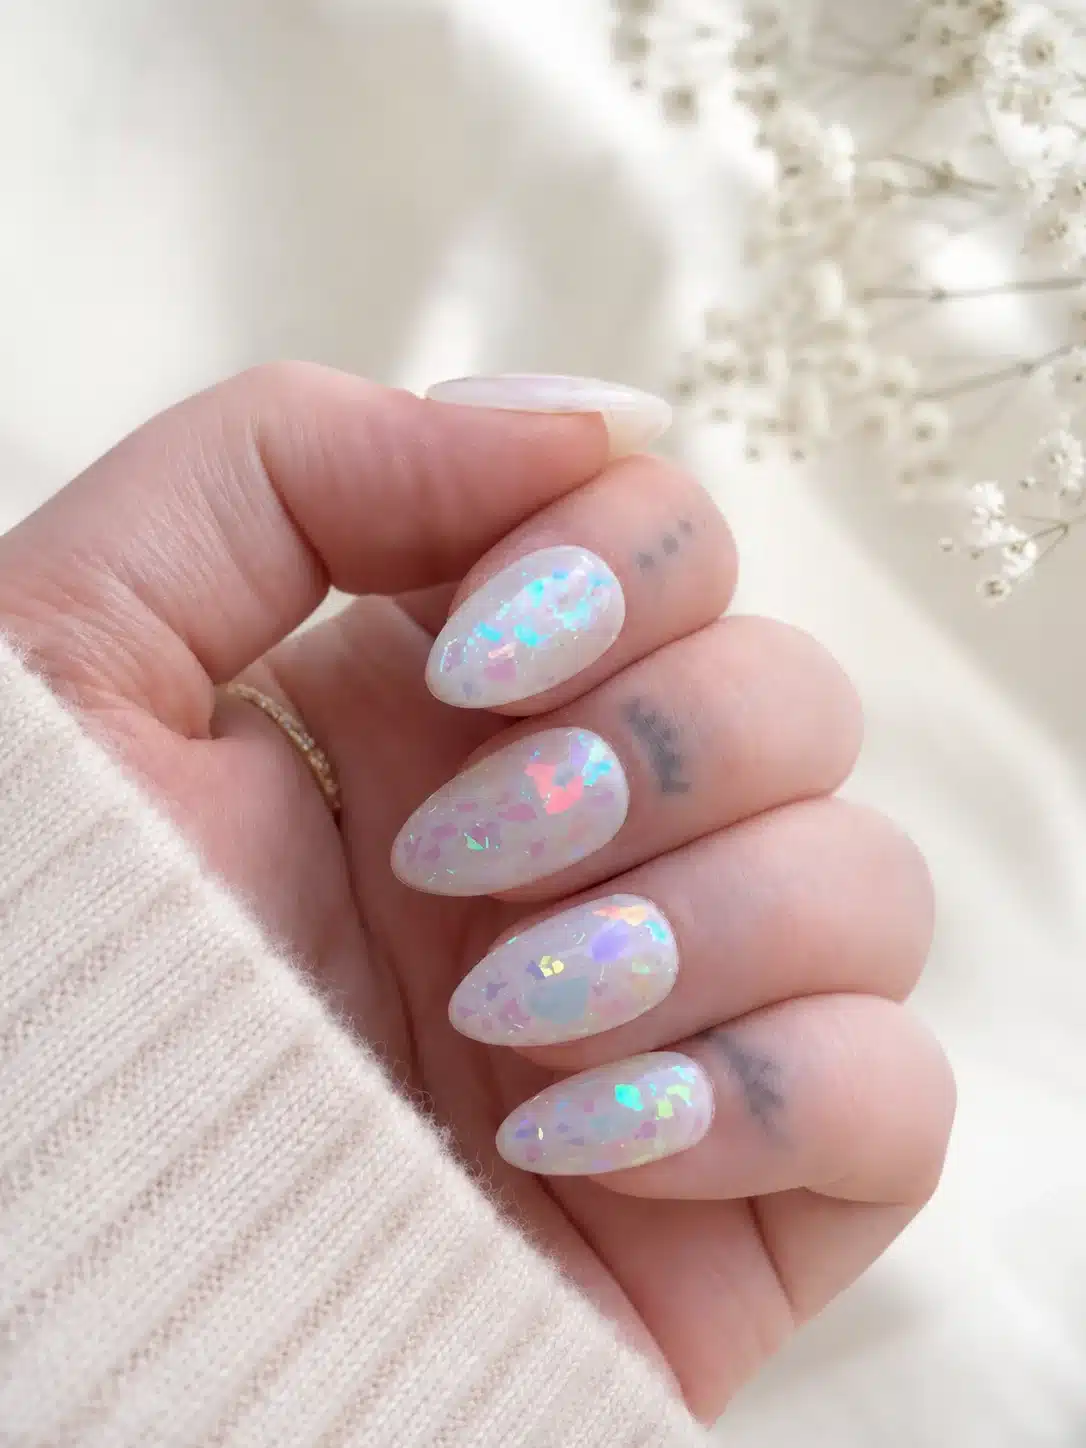
Blue, lilac, and pink flashes float through a milky base like light moving through glass.
How to Get the Look
Prepare the nail and apply one milky layer. Place iridescent flakes sparsely while the next clear layer is workable, keeping larger pieces away from the cuticle. Encapsulate until smooth, refine any raised edges, and add a glassy top coat.
4. Pearl Fairy-Dust Manicure
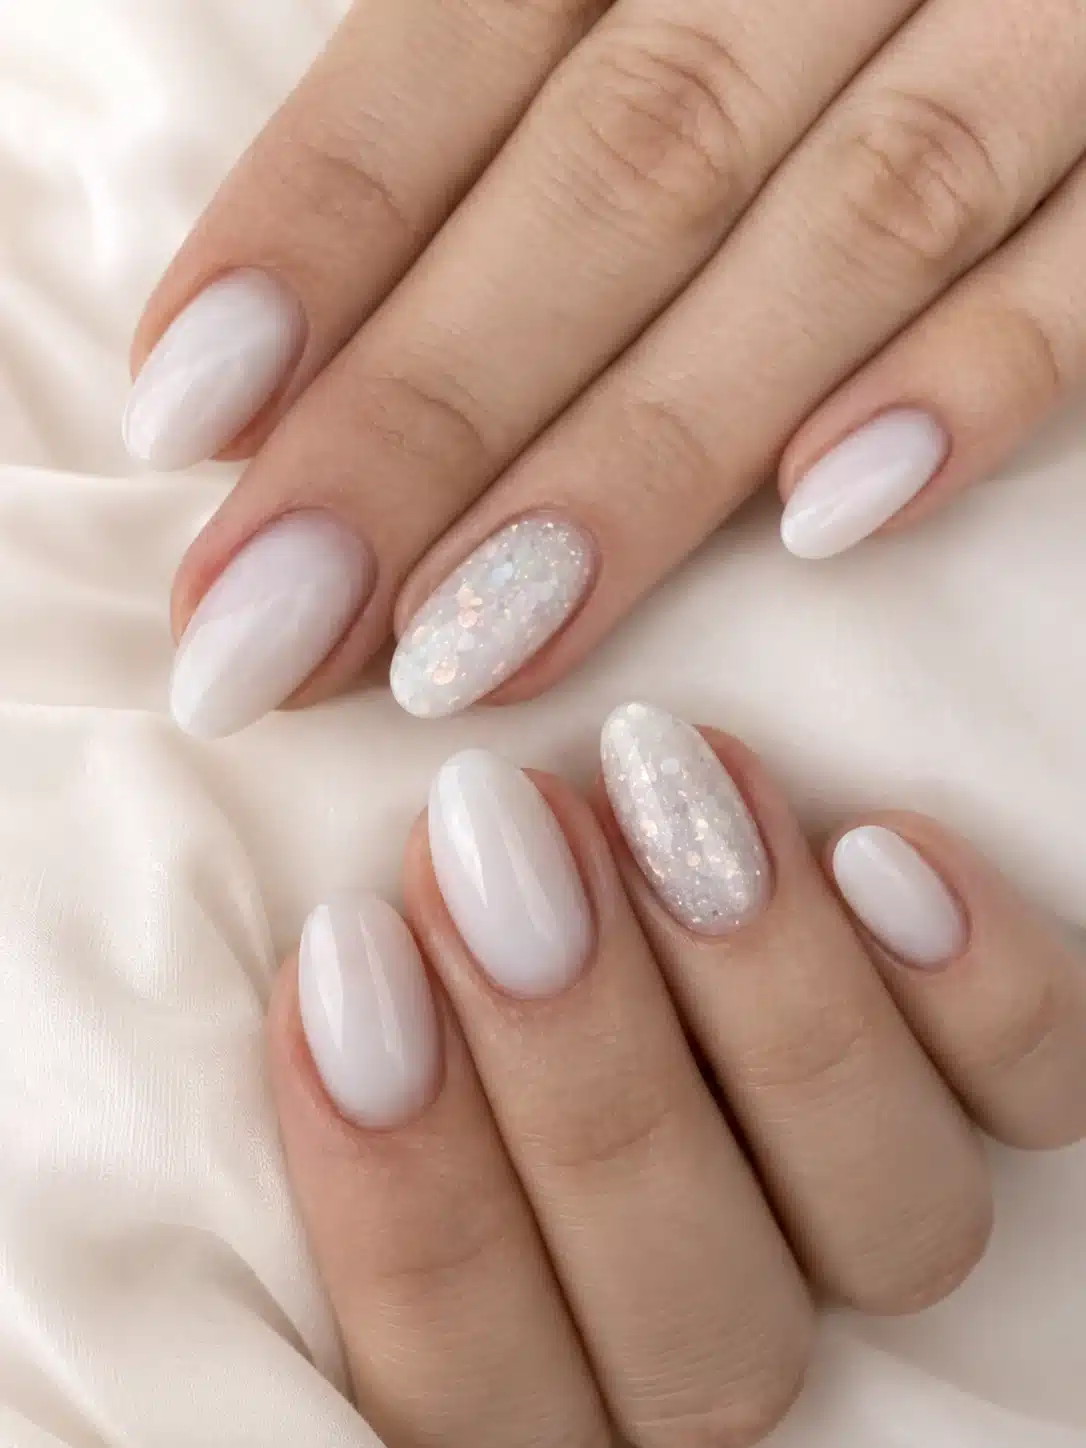
Micro shimmer creates an even pearl glow instead of obvious chunky glitter.
How to Get the Look
After the milky foundation is smooth, float one thin fairy-dust shimmer coat over the surface. Avoid repeated brush strokes that can create lines. Cure or dry according to the system, cap the free edge, and seal with high shine.
5. Almond Nails With Sparkling Tips
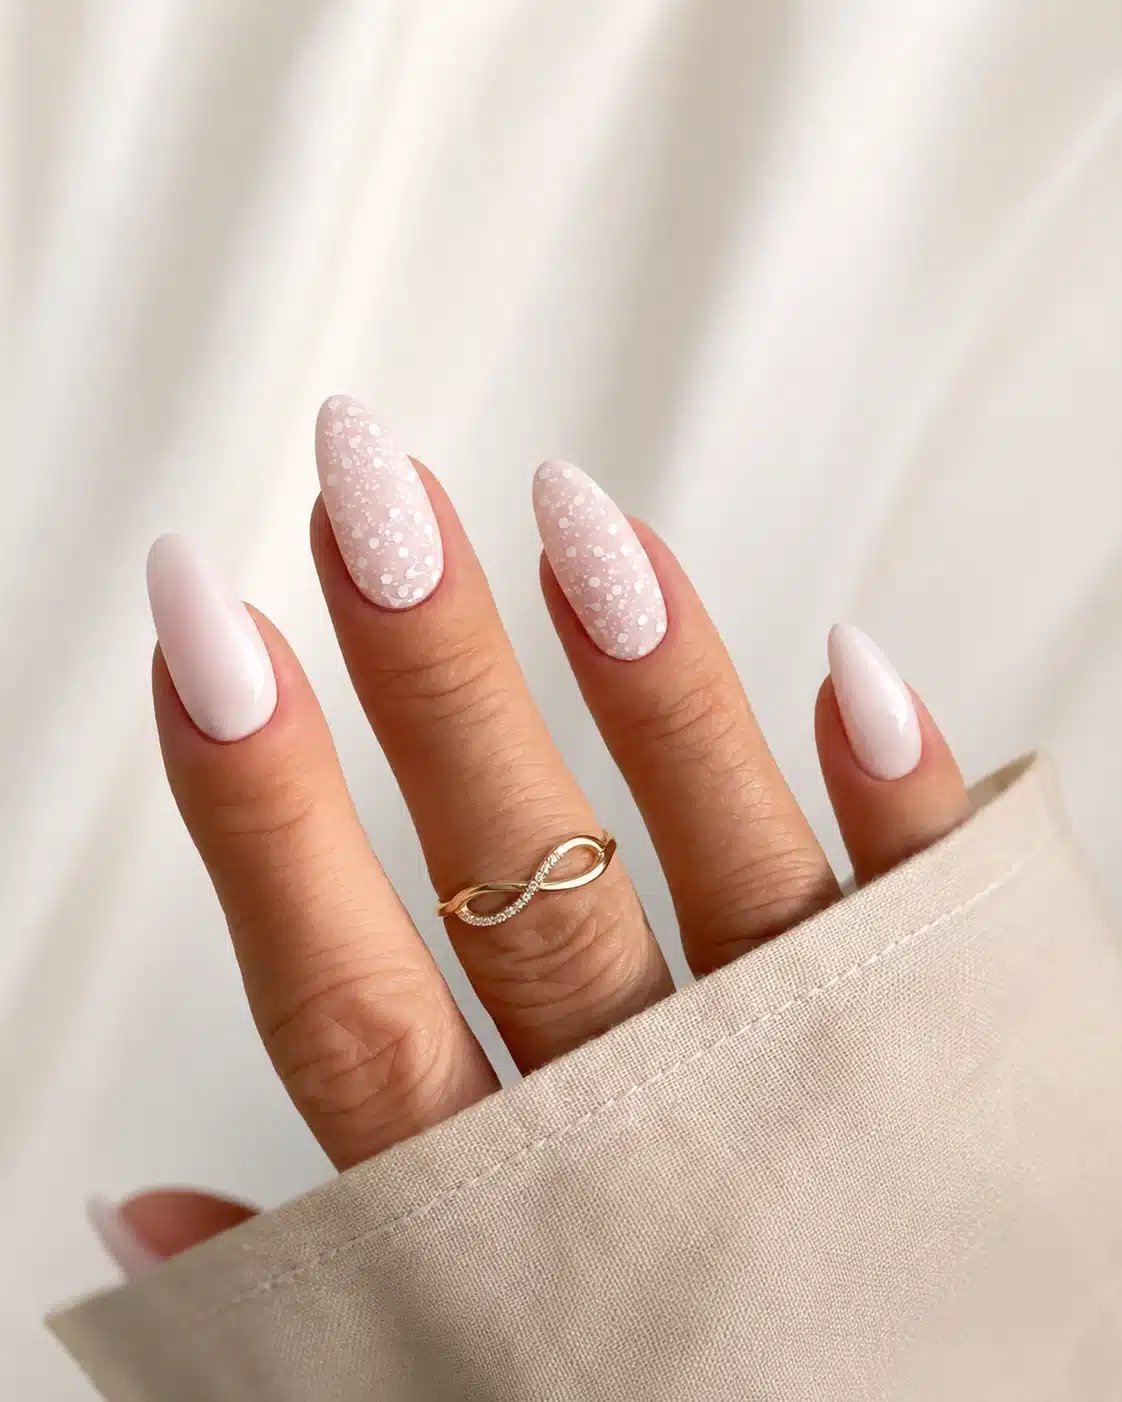
A tapered almond outline guides silver sparkle toward a soft centered point.
For the same tapered silhouette without a glitter requirement, use the focused milky white almond nail guide.
How to Get the Look
Shape both sidewalls toward an even almond tip before color. Apply the milky base, paint a slim glitter French edge with a liner brush, and compare every tip from directly above. Correct the curve before sealing so the point remains centered.
Products for Milky White Glitter Nails
Affiliate disclosure: these buttons are sponsored Amazon links. NailsDes may qualify for a commission. Each card opens a search for similar options, not a claimed exact product; verify compatibility and follow the product instructions.
Sheer Milky White Polish Options
Choose a translucent white formula that can be built in thin layers.
Shop similar options on AmazonFine Silver Nail Glitter Options
Look for fine cosmetic nail glitter for controlled fades and micro tips.
Shop similar options on AmazonIridescent Nail Glitter Options
Use small iridescent flakes for a translucent snow-globe effect.
Shop similar options on Amazon6. Champagne-Gold Glitter Fade
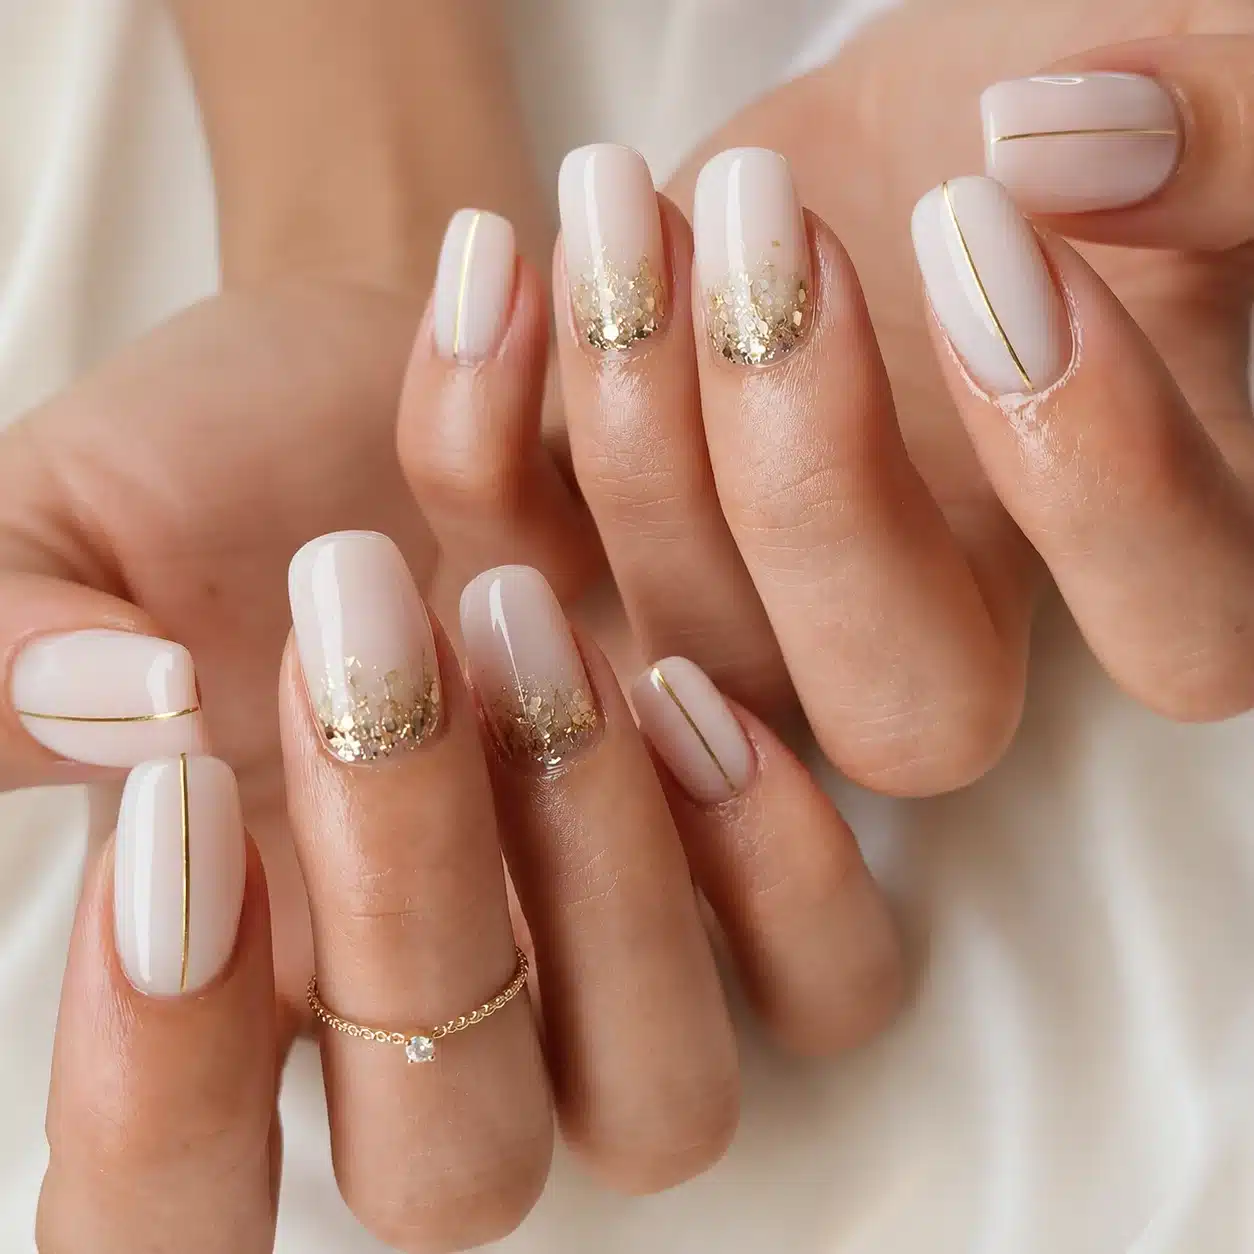
Warm gold particles make the clean white base feel softer and more celebratory.
How to Get the Look
Use a neutral or beige-leaning milky shade. Concentrate champagne glitter near the tip or cuticle, then pull only a few particles into the open area. Keep the fade airy, press flat any loose pieces, and encapsulate with a compatible clear layer.
7. Long Milky White Glitter Nails
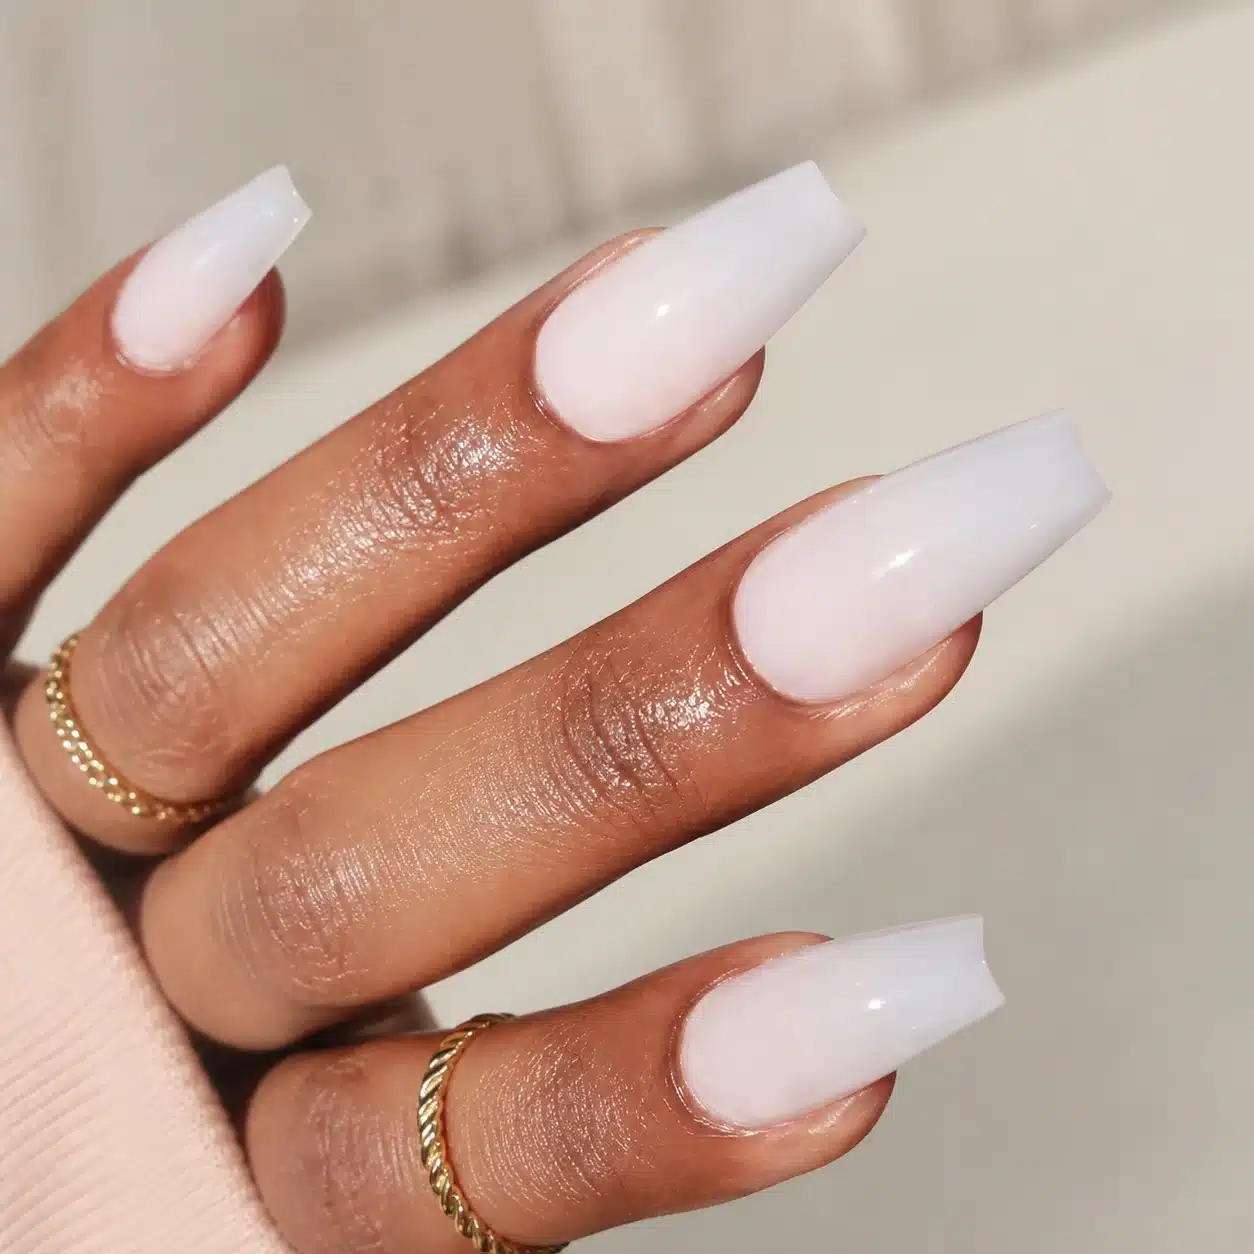
Extra length gives a sheer base and a controlled sparkle gradient room to breathe.
If you prefer a flat tapered tip at this length, compare the structure with milky white coffin nails.
How to Get the Look
Map matching lengths and confirm the structure before applying color. Use thin coats so the extension does not look bulky, place glitter where it supports the chosen taper, and check the profile from the side. Finish only after every surface is smooth.
8. Short Square Milky Glitter Nails
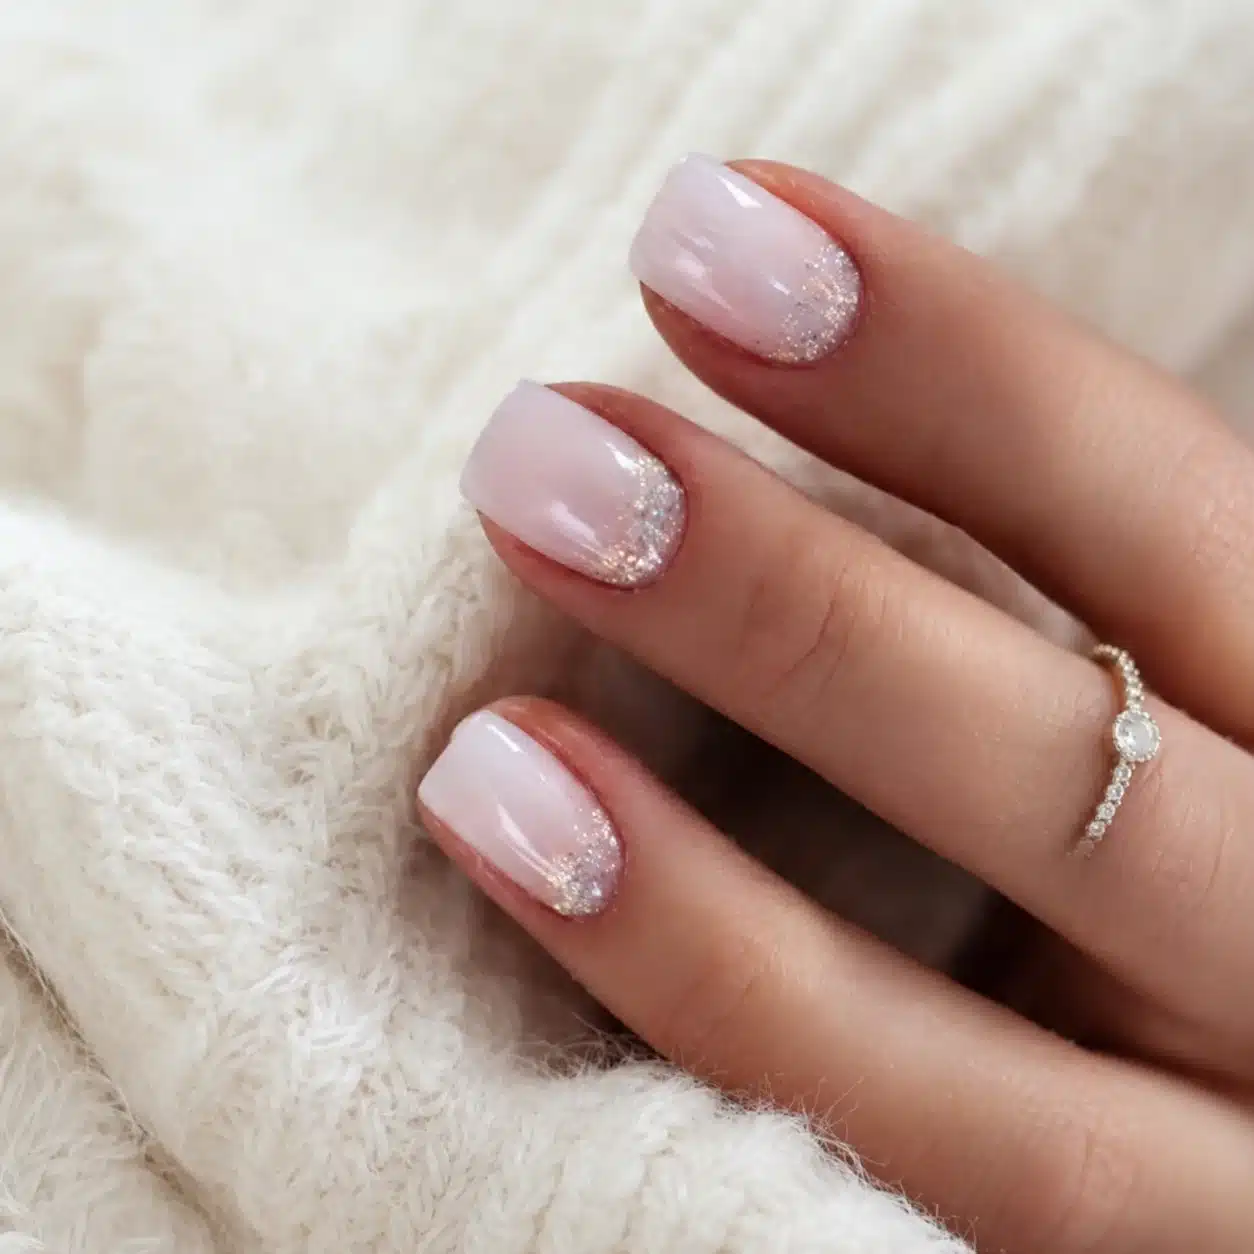
Fine sparkle gives short square nails detail without making the compact shape look crowded.
The practical compact version is expanded in these short square milky white nails.
How to Get the Look
Soften the corners into a practical square or squoval. Apply two light milky coats, add micro glitter to one edge or one accent nail, and leave open space on the remaining nails. Cap the short free edge carefully to reduce early tip wear.
9. One Full Glitter Accent Nail
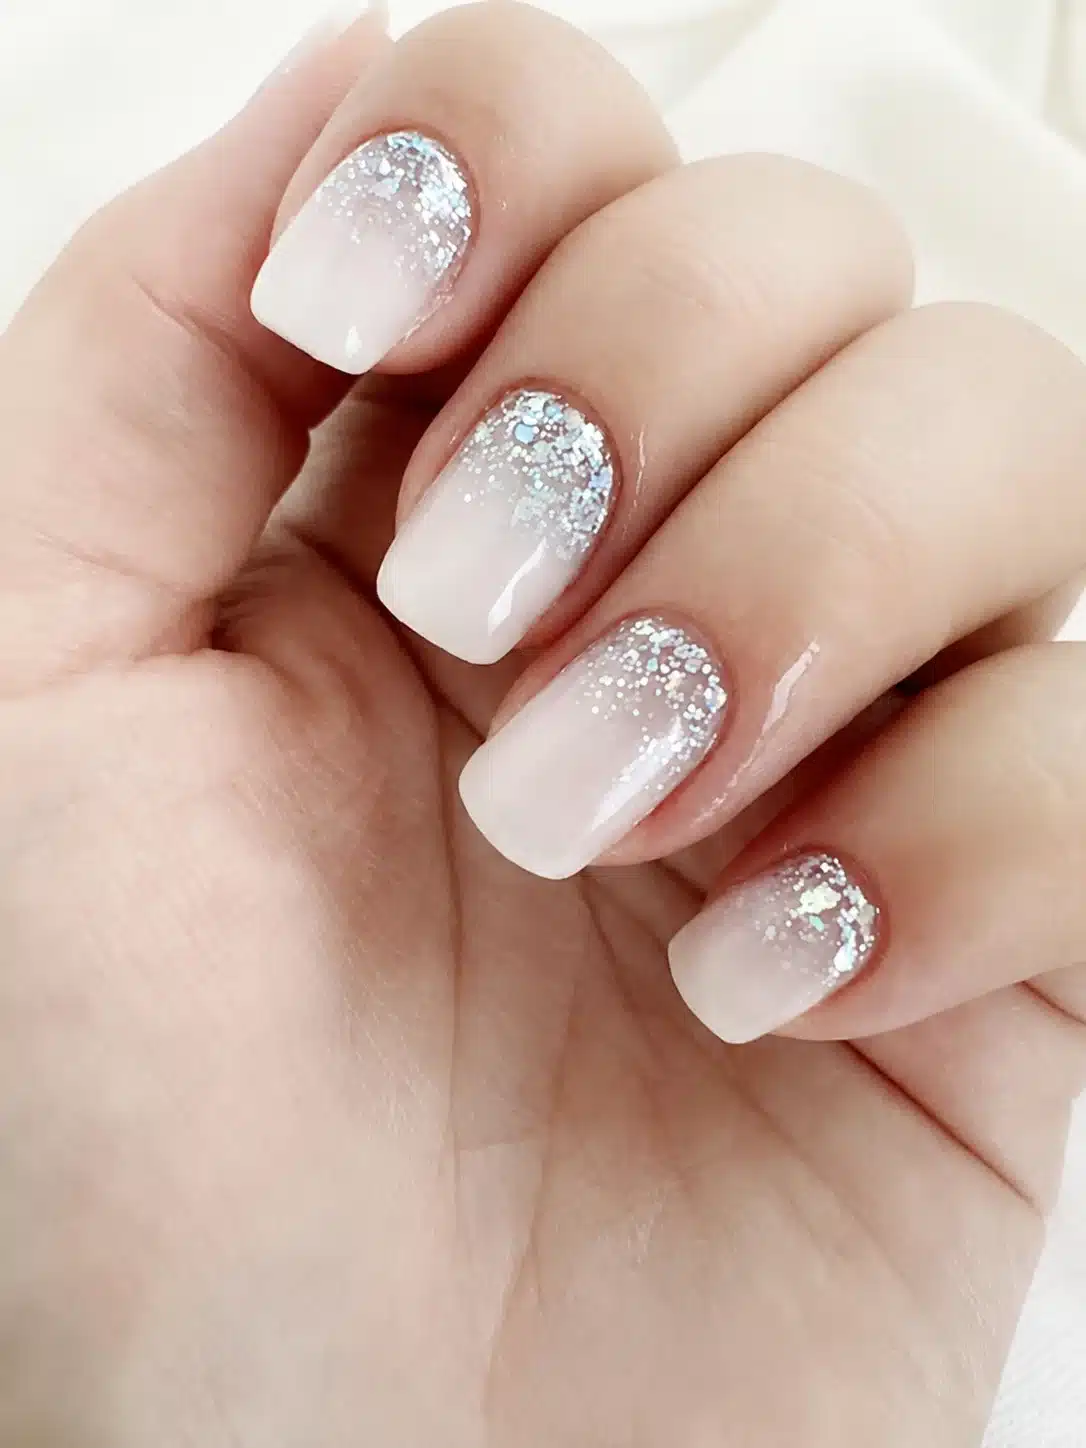
A single silver accent keeps the overall manicure clean while creating a clear focal point.
How to Get the Look
Complete the milky manicure first. On one nail, build glitter in two thin layers rather than one thick coat, pressing particles flat between layers. Match the final surface height to the other nails with clear product, then top coat the complete set.
10. Pink Floral Glitter Accents
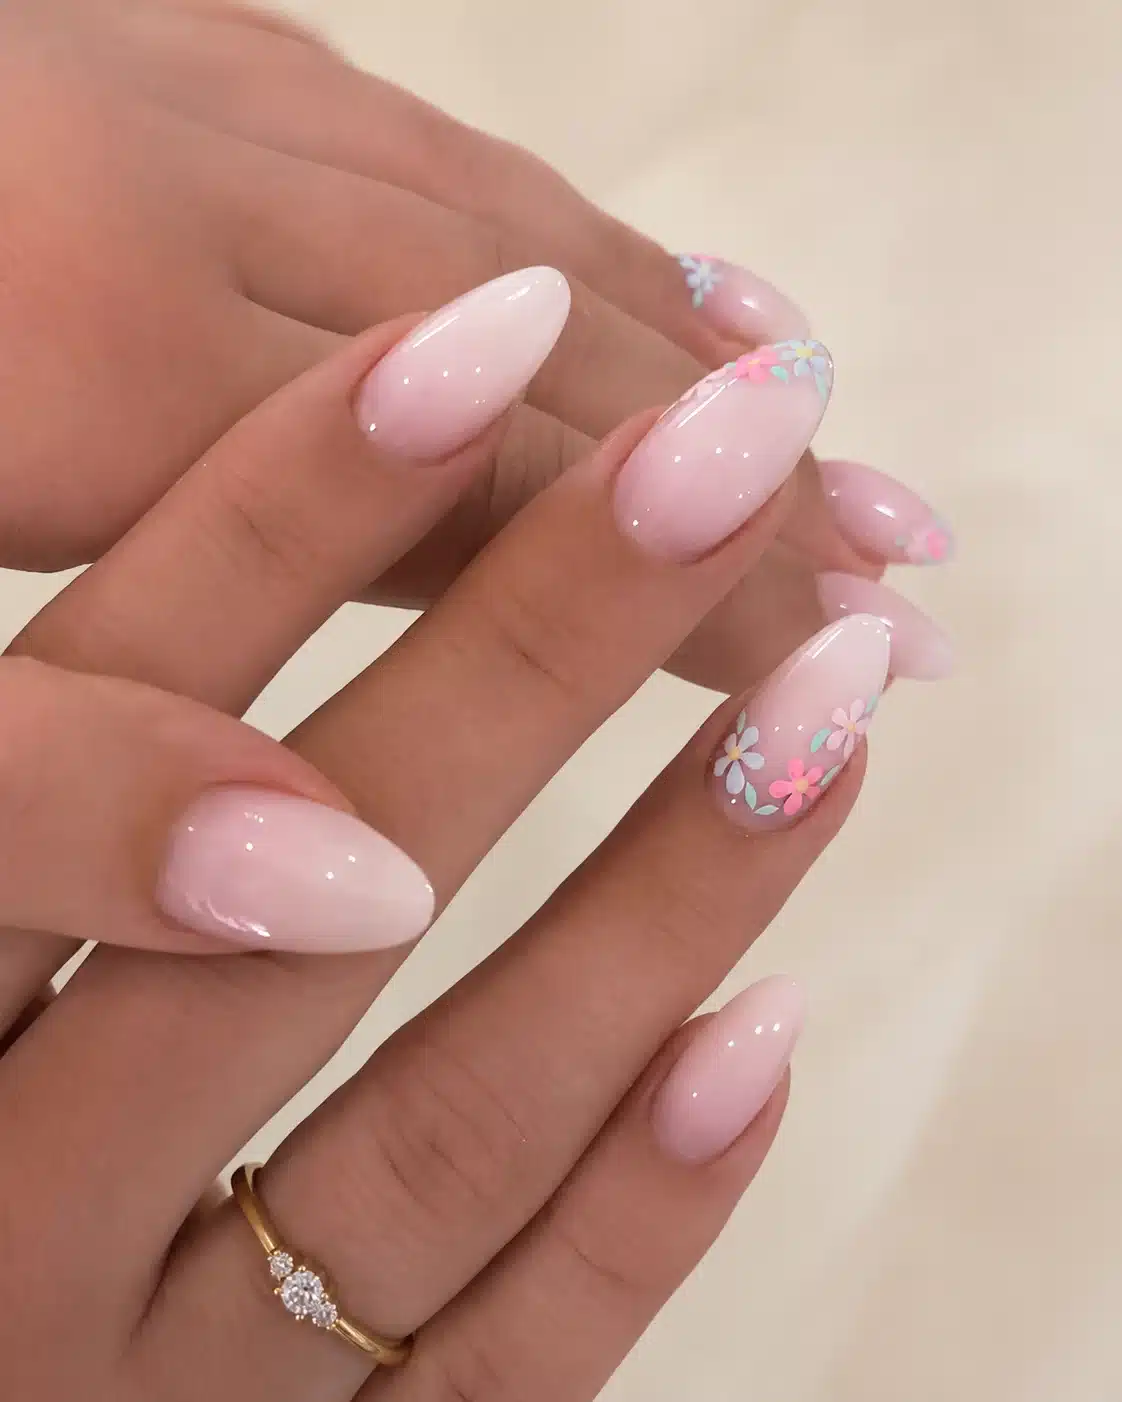
Delicate flowers and tiny reflective pieces turn the milky base into a soft event manicure.
How to Get the Look
Place the floral motif on one or two nails after the milk color has cured or dried. Add glitter around—not over—the petals so the design stays readable. Encapsulate decals or dried details fully and avoid raised edges that can catch.
What to Ask for at the Salon
Say: “I want a semi-sheer milky white base in two thin coats, with fine glitter placed as a soft fade or micro French detail, then sealed smooth with high-gloss top coat.” Show one reference image and specify whether the white should lean neutral, pink, or cool.
How to Create the Look at Home
Shape and clean the nails, apply a compatible base coat, and build the milky color in thin layers. Add small amounts of glitter with a liner brush, detail brush, or sponge. Keep particles away from the skin, smooth raised texture with clear product, and follow every curing or drying instruction.
Ventilation and correct product handling matter during application and removal. The OSHA nail-salon guidance explains practical exposure controls; at home, follow the product label and never peel off cured enhancement products.
Frequently Asked Questions
Are milky white nails classy?
Yes. Their translucent neutral base looks understated, while controlled glitter adds light without making the manicure visually heavy. Even shaping and smooth encapsulation are essential to the refined result.
What is a good milky white nail color?
Look for a sheer or semi-sheer creamy off-white rather than a dense correction-fluid white. Choose neutral, pink-leaning, beige, or cool according to the contrast you want, then test one and two coats.
What should I ask for if I want milky white nails?
Request a translucent milk-bath white, state your preferred undertone and coverage, and ask to see a swatch. For glitter, specify particle size, color, placement, and whether the finish should be subtle or statement-making.
What is the rich girl nail trend?
It generally describes glossy, carefully maintained neutral nails with precise shaping and minimal decoration. A milky base with a very fine shimmer or one restrained glitter detail fits that polished aesthetic.
Final Thoughts
The best milky white glitter manicure leaves the cloudy base visible. Choose one clear sparkle strategy—fade, French edge, pearl veil, or accent nail then control density and seal the surface smoothly. That balance keeps the finish dimensional, clean, and easy to personalize.