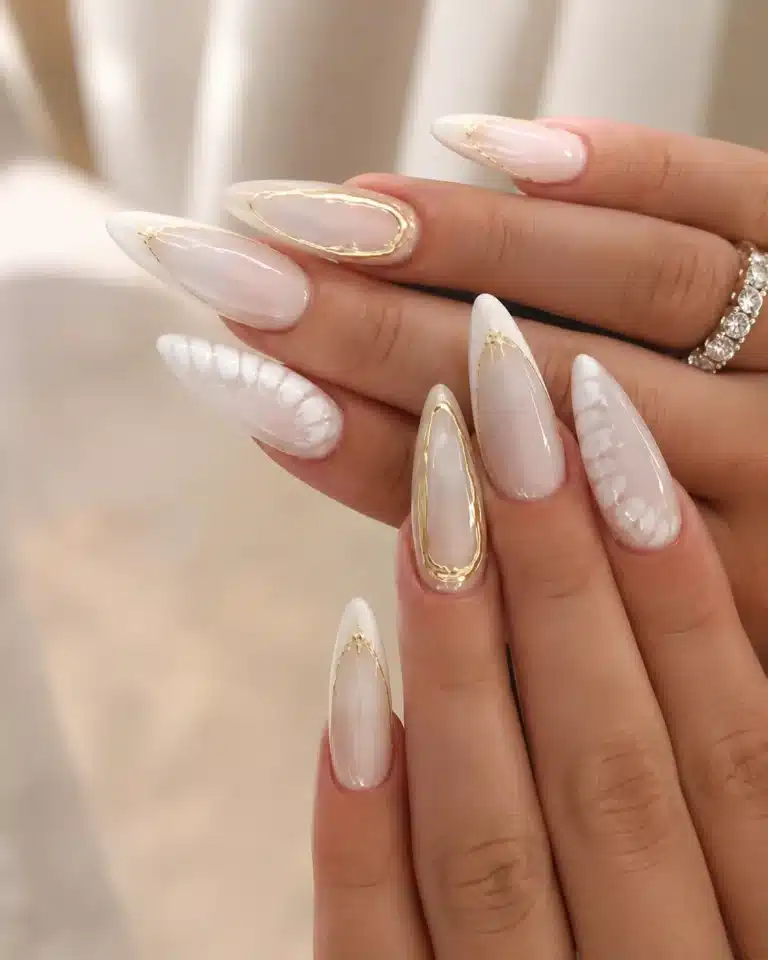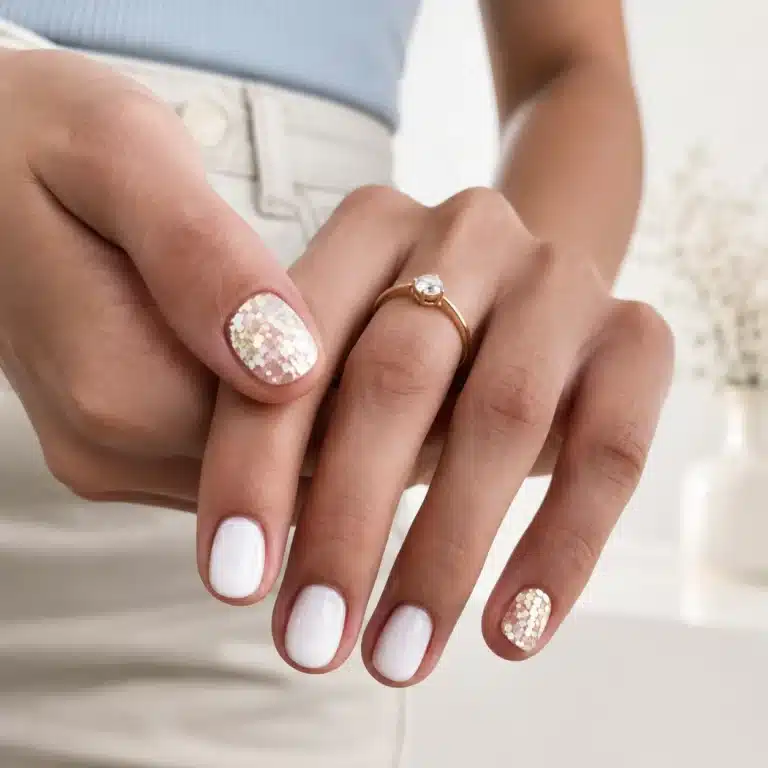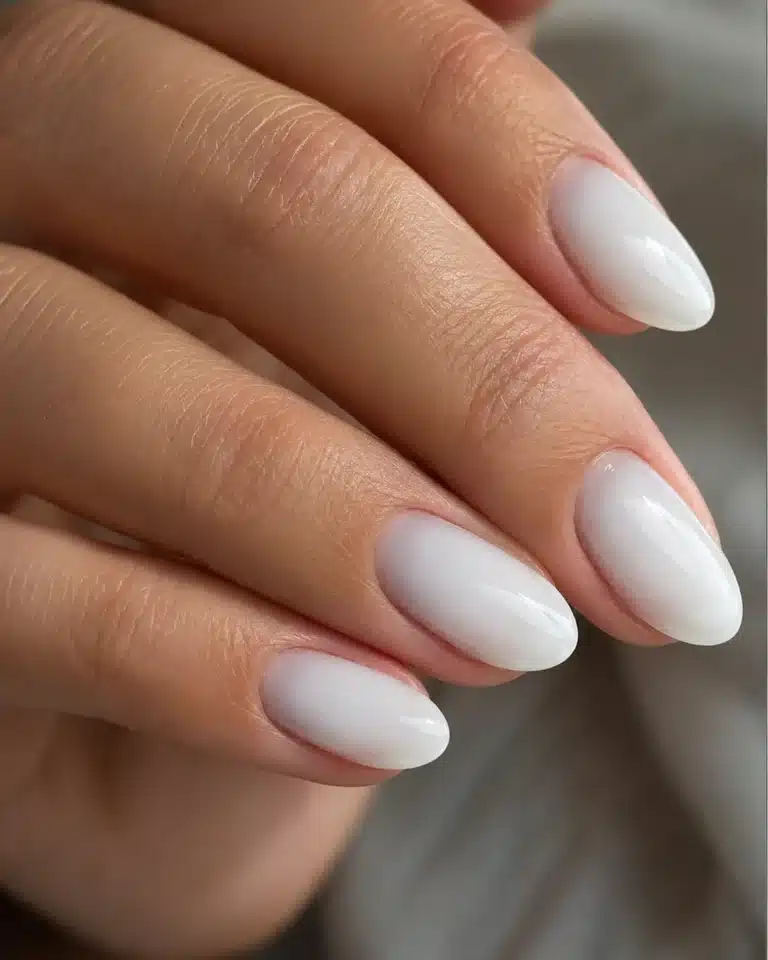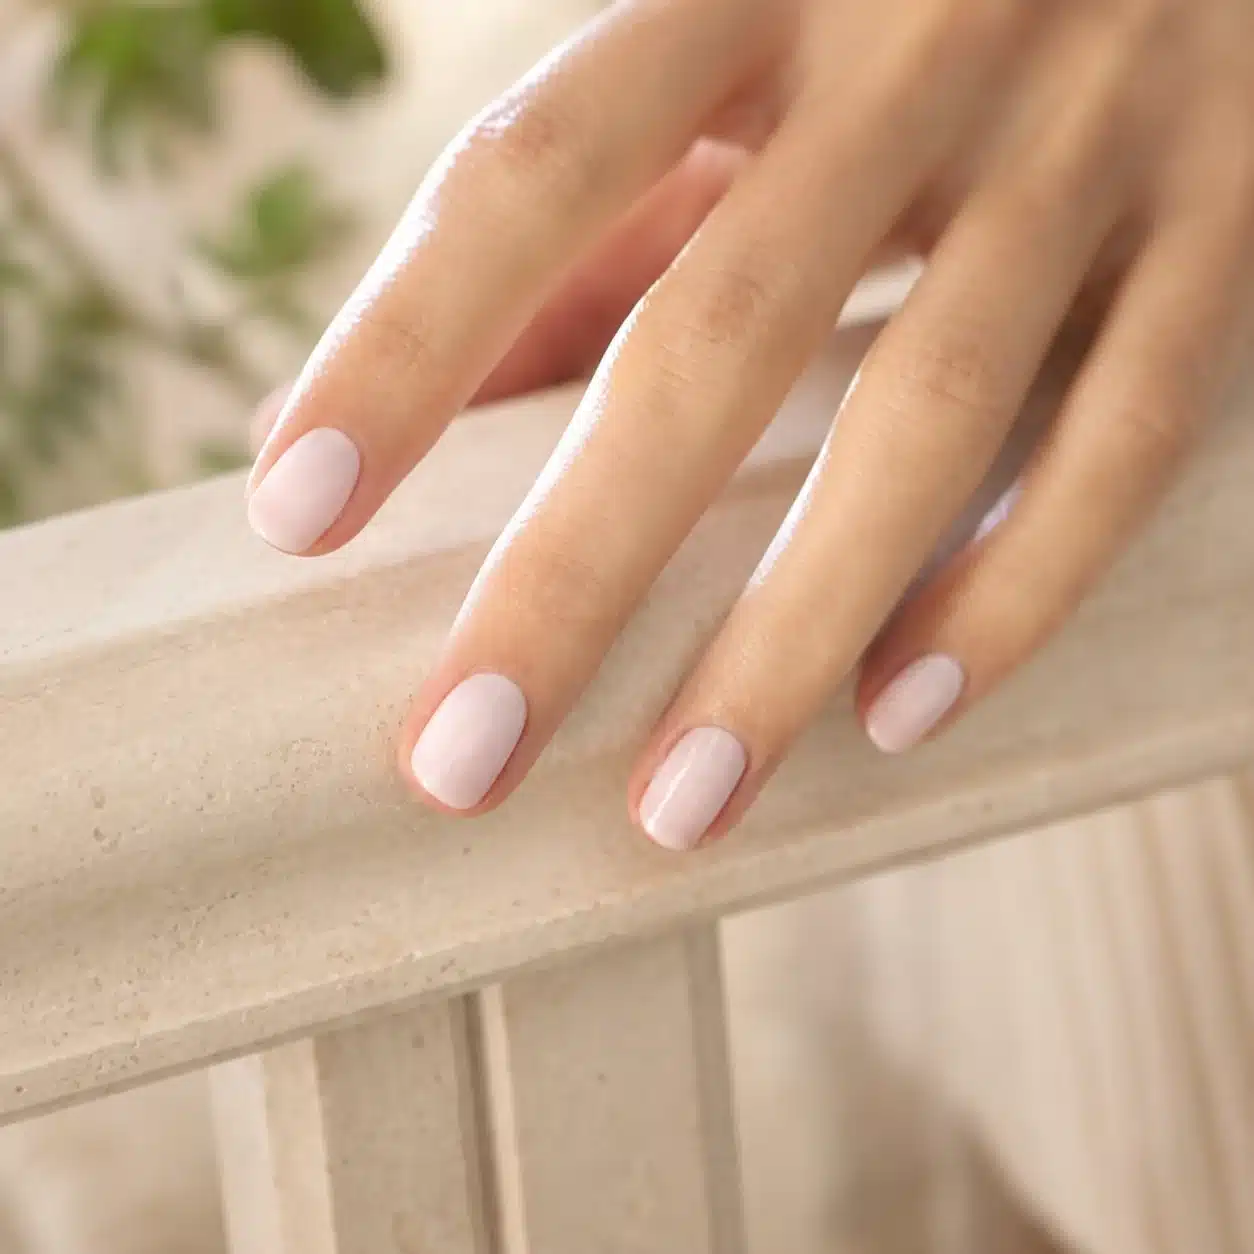
Milky white gel nails combine a translucent-to-creamy white base with the smooth, cured shine of a gel manicure. The color is softer than correction-fluid white and more polished than a clear coat: one layer can look barely there, while two or three thin layers create a cloudy milk-bath finish.
This guide stays focused on finished gel manicure ideas, shapes, salon wording, and safe product-system steps. It is deliberately different from a product roundup: if you are comparing bottles and shade formulas rather than complete looks, use the separate milky white gel nail polish guide.
Key Takeaways
- Ask for a sheer or buildable milky white gel rather than a stark opaque white.
- Two or three thin coats usually look smoother than one overloaded coat.
- Use one compatible gel system and follow its labeled lamp, cure, and removal directions.
Table of Contents
What Are Milky White Gel Nails?
Milky white gel nails use a white or white-pink gel with controlled translucency. The color softens the natural nail line and evens visible tone without necessarily hiding the nail completely. A sheer version resembles a thin white veil; a creamier build creates the smooth “glass of milk” effect seen in many minimalist manicures.
The finished look can be worn on natural nails or over a compatible structured overlay or extension. That distinction matters: color gel provides the shade, while builder products or extensions provide architecture and length. If the main goal is sculpted length, compare the structure with these milky white acrylic nail ideas before choosing the service.
Gel products are cosmetics and should be used according to their labels. The FDA’s nail care product guidance explains why directions, ingredient labels, and warning statements matter for both home and salon products.
Why Milky White Gel Nails Look So Polished
The shade works because it balances brightness and softness. Opaque bright white creates strong contrast and can reveal every irregular edge. Milky white diffuses that contrast, while the gel top coat adds an even reflection across the surface. The combination makes short nails look neat and long shapes feel less severe.
It also adapts easily to other details. A milky base can support a pearl glaze, a fine French tip, a glitter fade, dots, or restrained floral art. The broader milky white nails with design collection shows those decorative directions, while this article keeps the gel finish and application method central.
8 Milky White Gel Nail Ideas
1. Pink-Base Milky White Gel
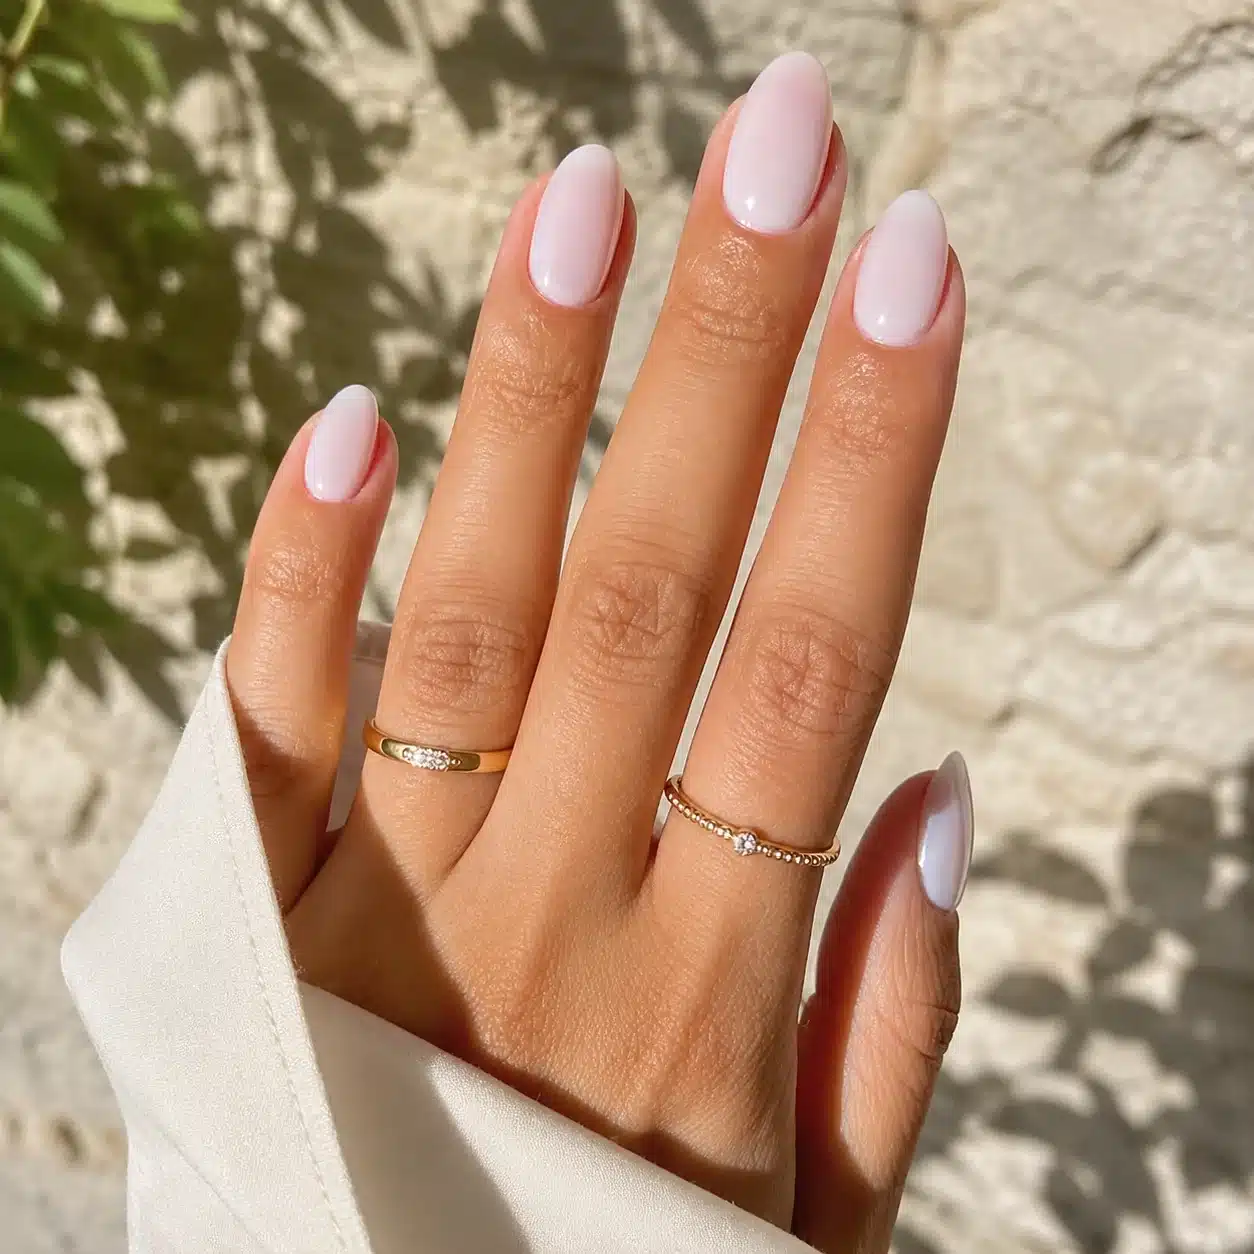
Choose this version when pure white looks too cool. File the nails into a soft oval or almond, remove surface dust and oil according to the system, and apply the compatible base. Build the color with one thin pink-milky coat followed by a translucent white layer, or use a premixed white-pink shade. Cure only for the labeled time and lamp, then finish with a thin high-shine top coat. Keep the cuticle margin precise so the soft color still looks intentional.
2. Short Square Milky White Gel Nails
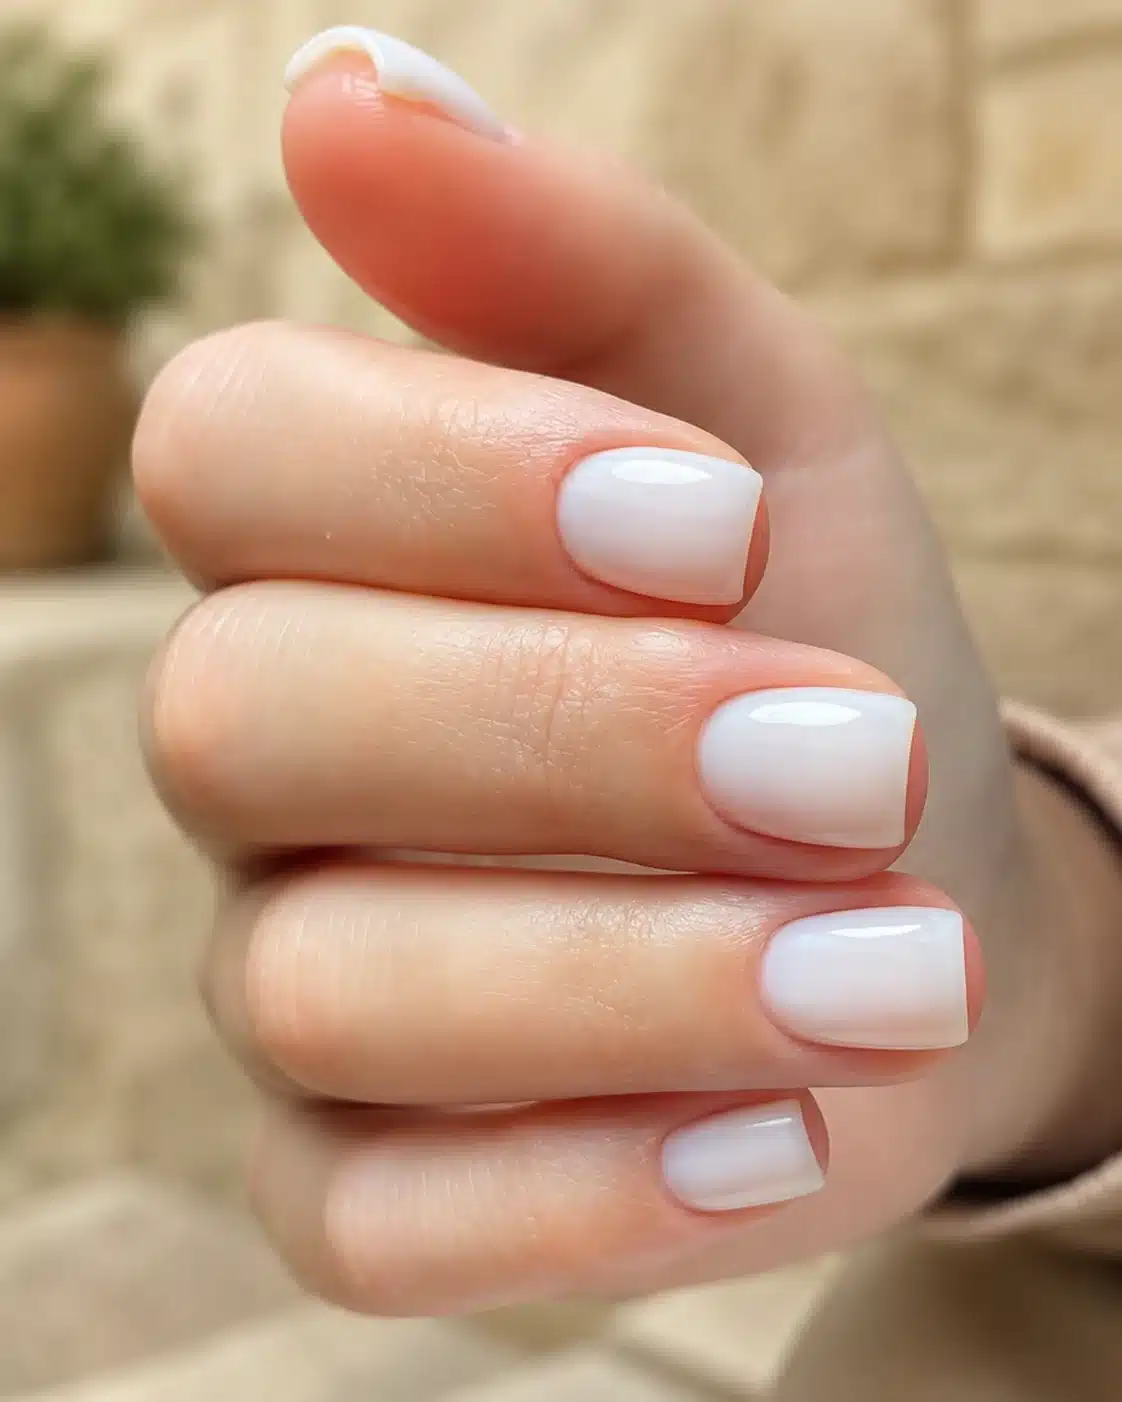
File the free edge straight, then lightly soften the sharpest corners. A smooth shape is important because pale gel makes asymmetry visible. Apply the base and two thin milky coats, using light brush pressure so pigment stays even from sidewall to sidewall. Cap the free edge with each compatible finishing layer. The final result should look creamy but not bulky, with a straight line that remains clear beneath the gloss.
3. Creamy, More Opaque Milky Gel
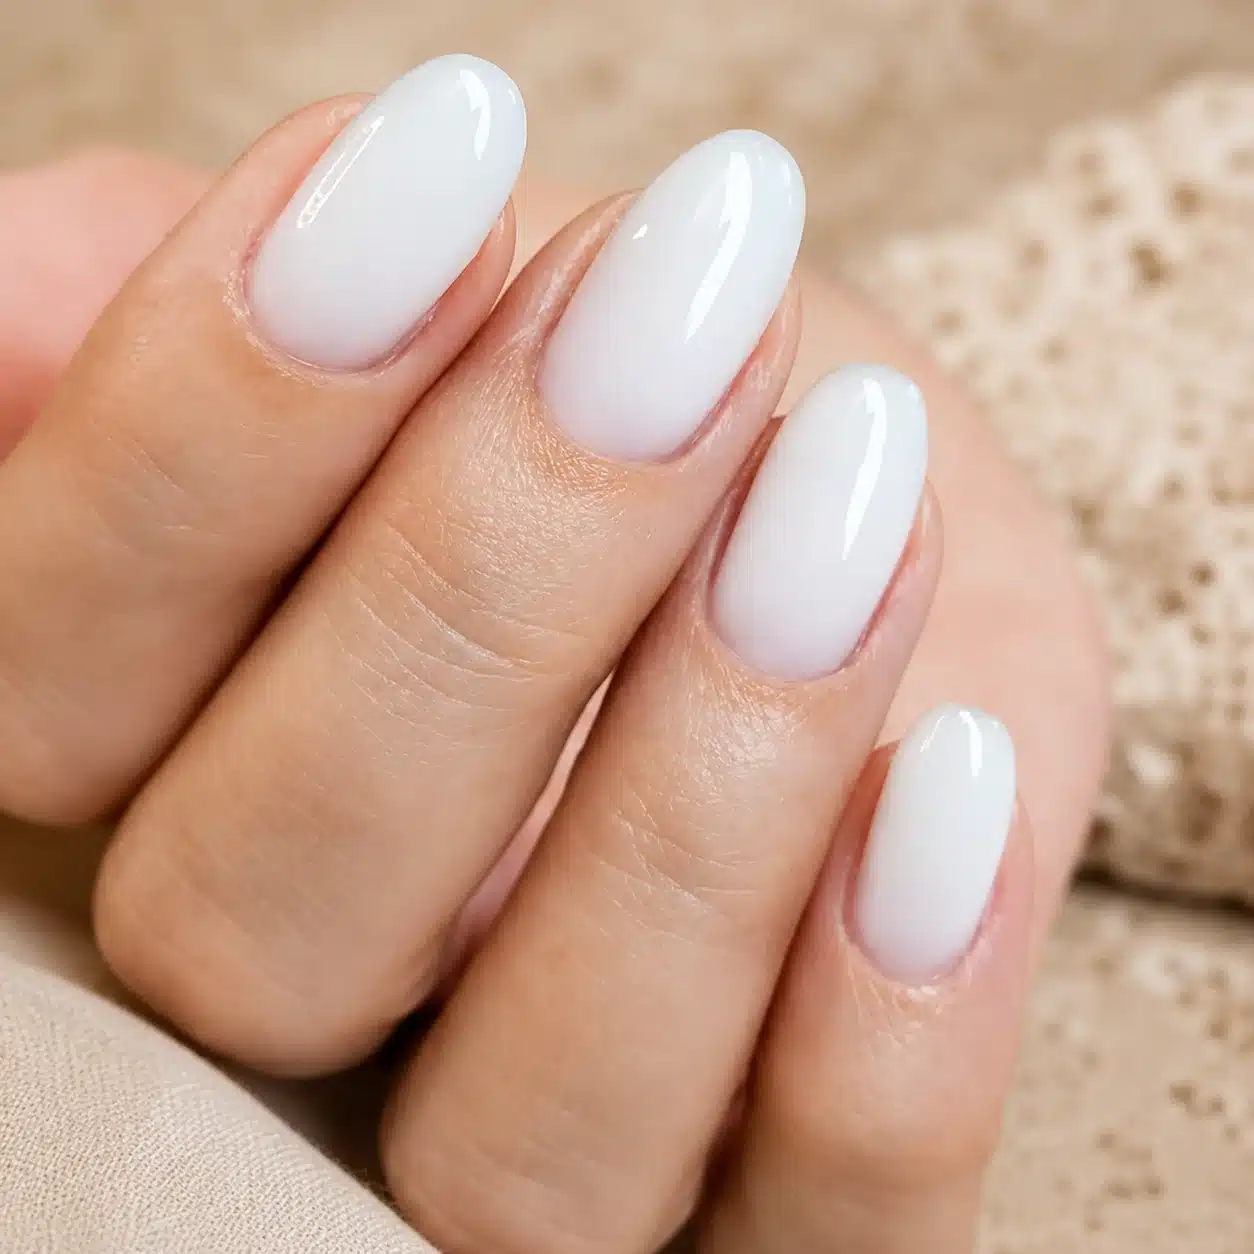
This look hides more of the natural nail line while avoiding stark correction-fluid white. Start with a level surface and use three very thin layers rather than one heavy coat. Float the brush gently so it does not pull cured or wet pigment away from the center. Inspect the side profile before the top coat; if the color is pooling near the cuticle or sidewalls, stop and correct it according to the product instructions before curing further.
4. Almond Milky White Gel Nails
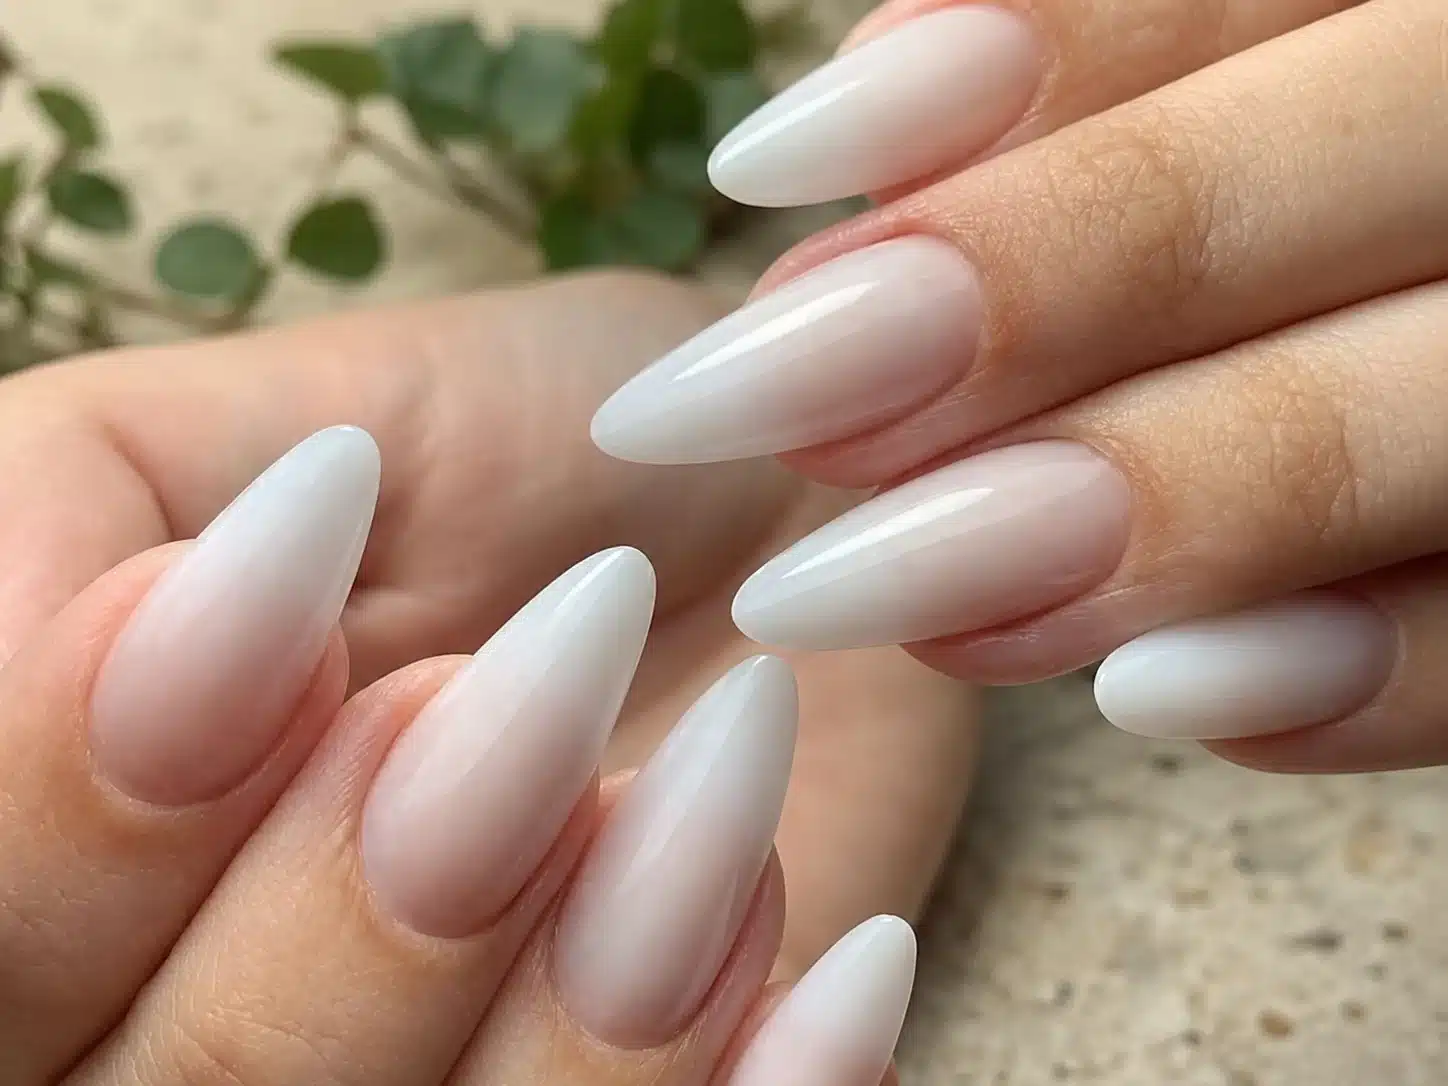
Refine both sidewalls evenly and keep the center point soft rather than sharp. Apply a translucent white gel in two coats, keeping the first almost sheer and using the second to even the nail line. Seal with a compatible glossy top coat. If shape is the primary decision, the dedicated milky white almond nail gallery gives additional length and silhouette references without changing this gel-specific application sequence.
Milky White Gel Nail Products
Milky White Gel Polish Options
Look for sheer or buildable white gel with clear manufacturer instructions for the required lamp and cure time.
Gel Base and Top Coat Options
Use base, color, and top products that the manufacturer confirms are compatible rather than mixing cure directions.
Gel Nail Lamp Options
Choose a lamp only when its wavelength and power are explicitly compatible with the selected gel system.
5. Soft Pink Milky Gel Nails
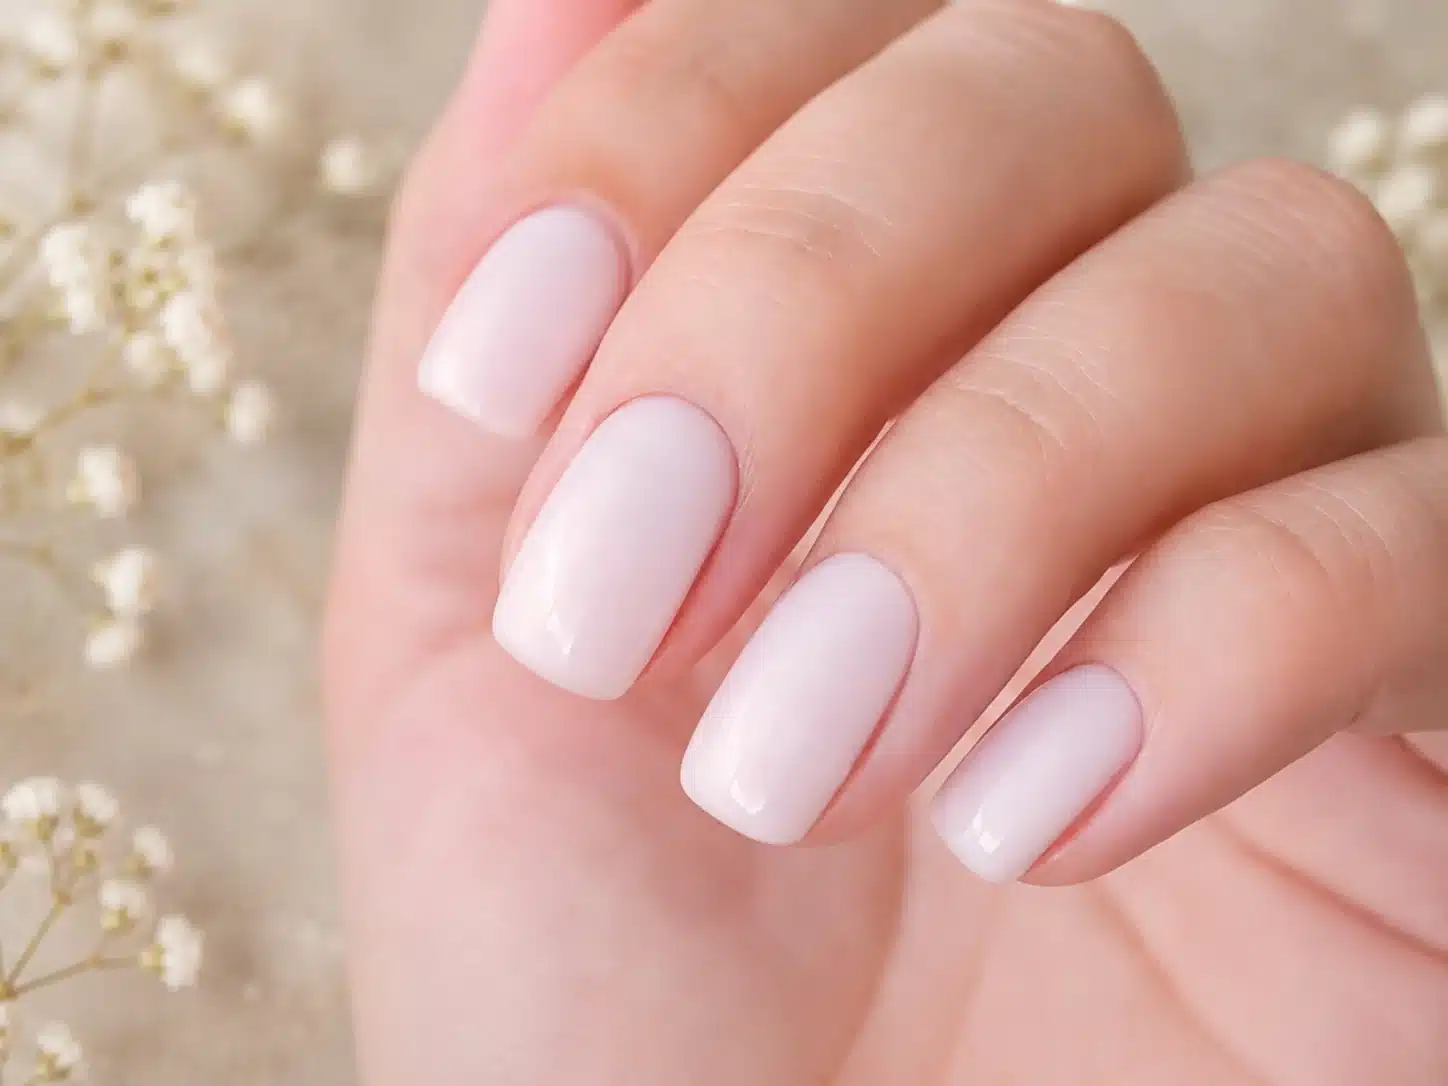
Use a translucent blush-white when you want the manicure to look softer against the skin. After preparation, apply a clear compatible base and two thin pink-milky layers. If the shade looks too pink after the first coat, use a sheer white second coat instead of adding more pink. Cure each layer exactly as directed and seal with gloss. The nail should still read as milky white, with the pink visible mainly as warmth.
6. Long Almond Milky White Gel
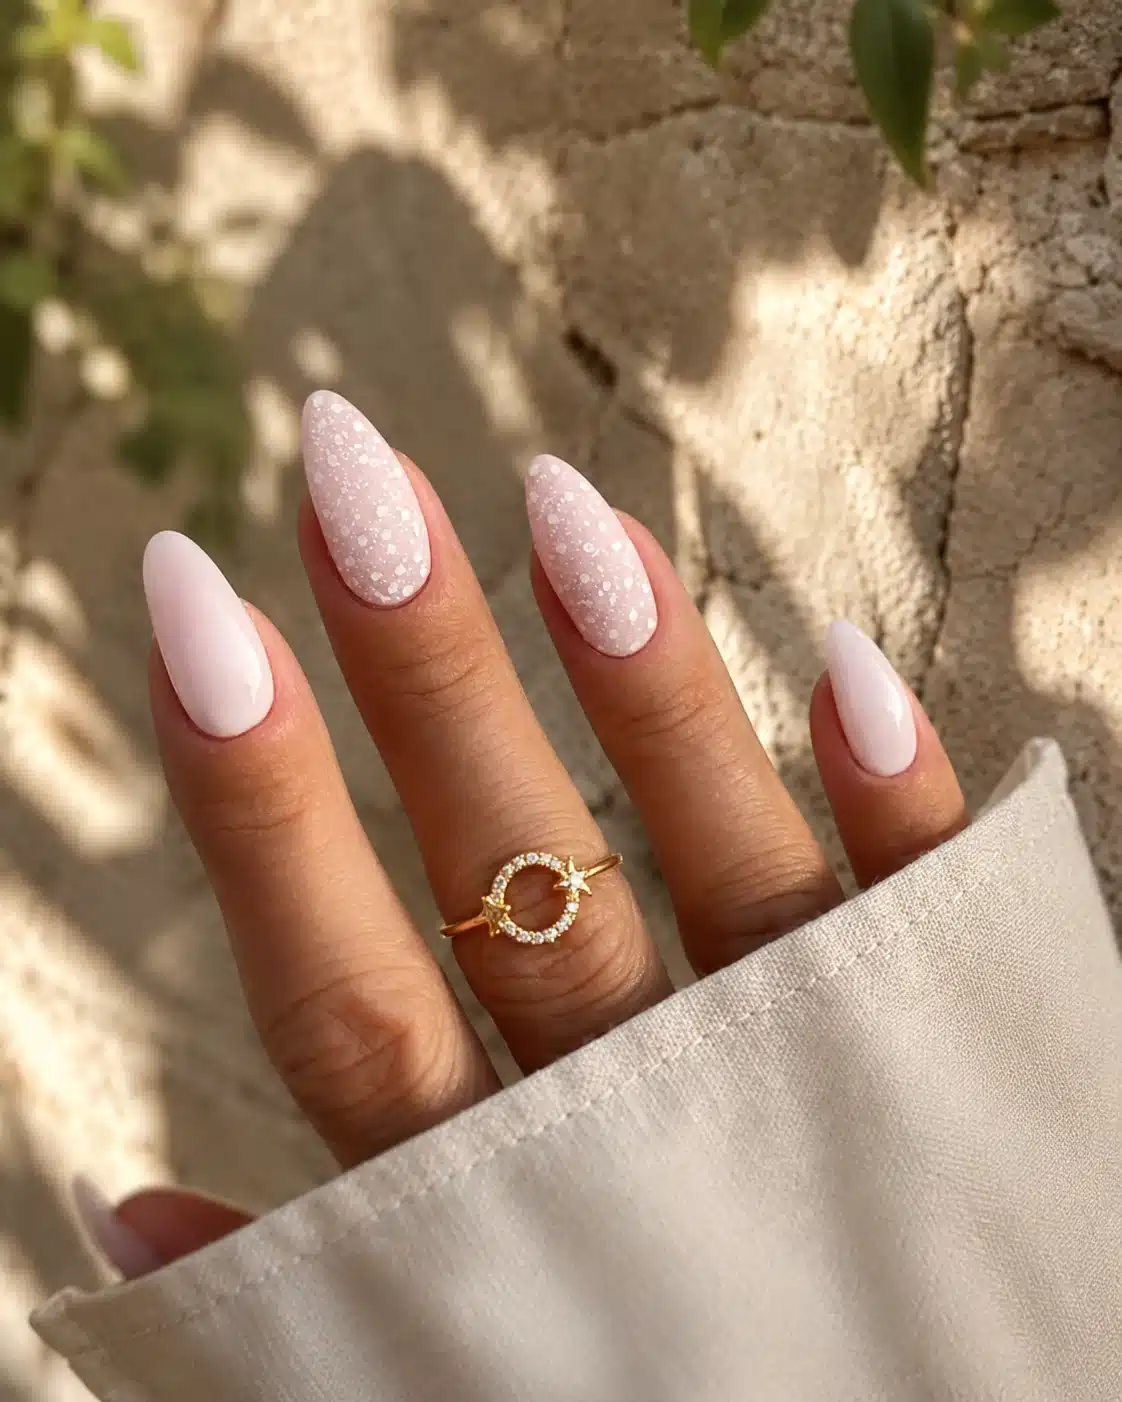
Long nails show more of the color, so a slightly sheerer formula can prevent the white from looking heavy. Confirm that the existing structure is sound, refine the silhouette, and apply color in thin even passes. Keep the apex and architecture separate from the color step; do not use thick color gel to correct shape. Once the white is even, add a high-shine finish. For a reflective version, see these milky white chrome nail ideas.
7. Milky White Gel Nails on Deep Skin
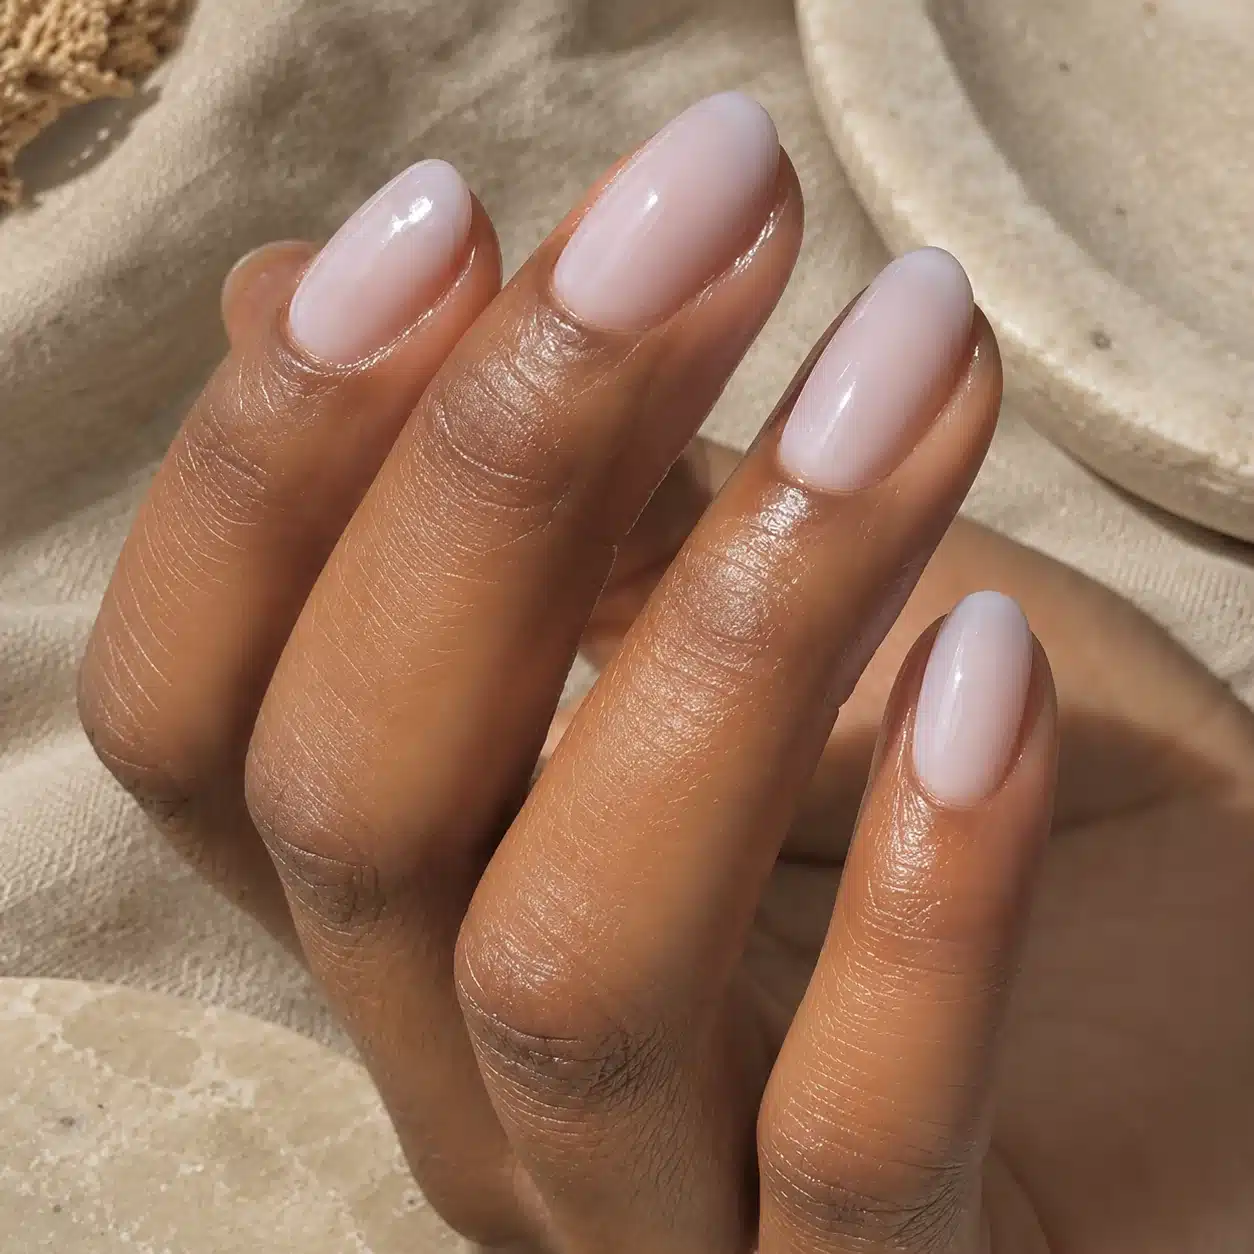
A neutral or slightly warm off-white creates luminous contrast without the blue cast of some bright whites. Test one thin coat before completing the set and view it in daylight. Build two or three controlled layers depending on the desired opacity, then clean the sidewalls before curing. Keep every nail consistent: uneven opacity becomes more visible when the shade contrasts strongly with the surrounding skin.
8. Milky Gel Across Different Shapes
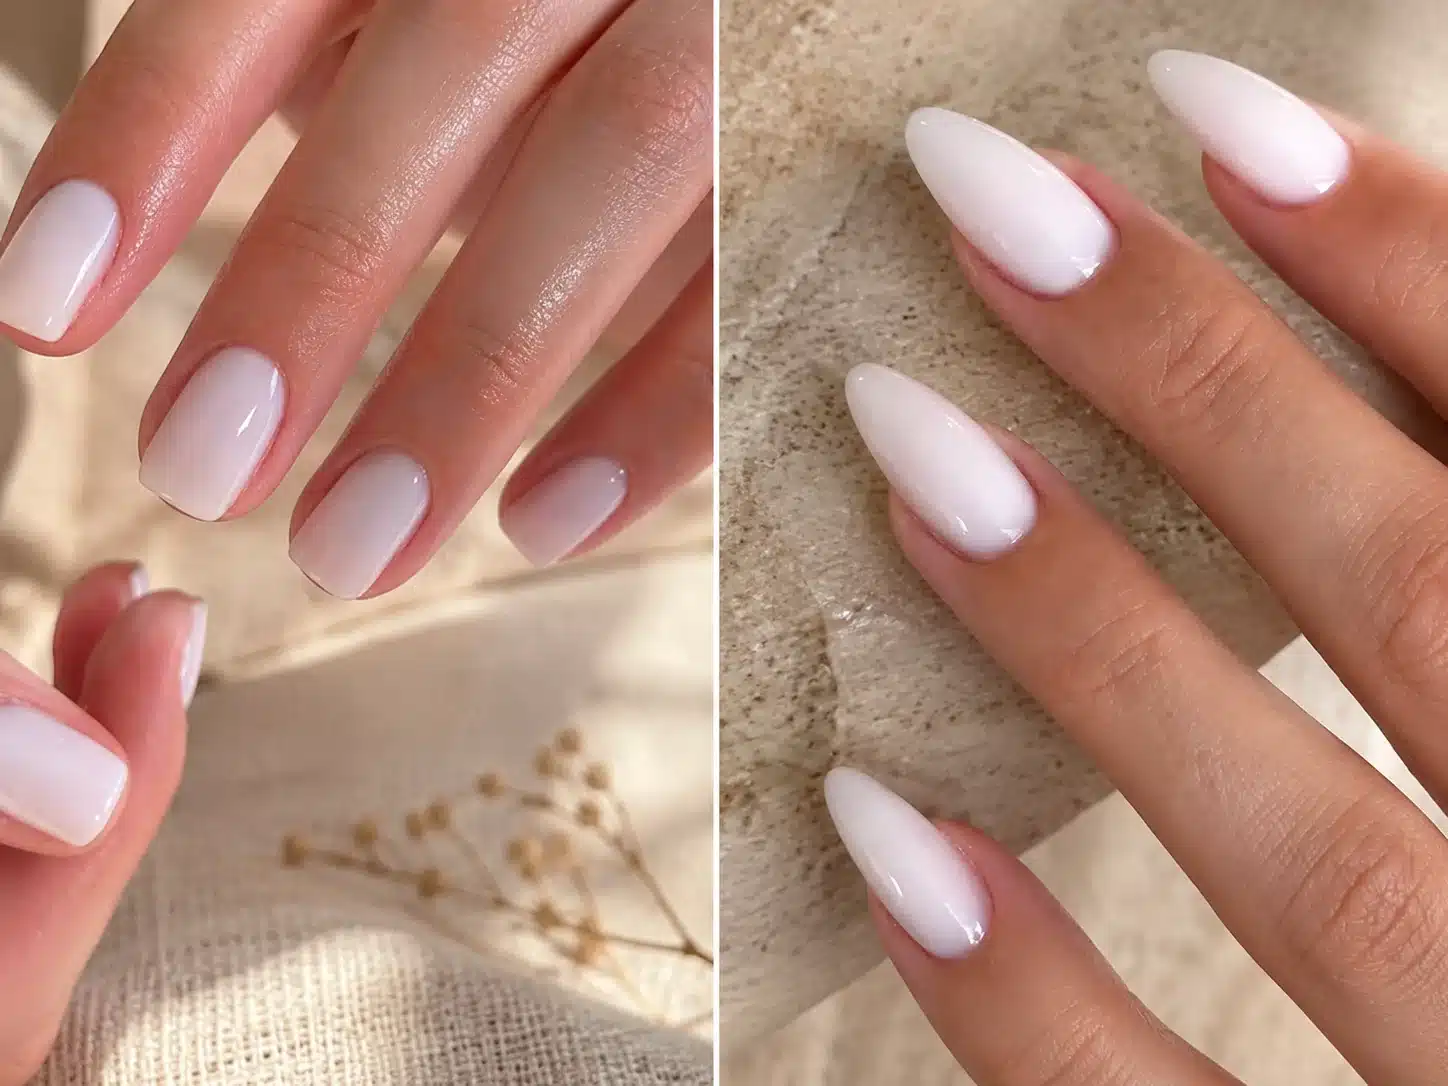
Use this comparison to choose the silhouette before the color service. Short oval reads natural, square feels clean and structured, and almond gives the milk-bath shade a more elongated look. Once the shape is fixed, use the same thin-coat method and opacity across all nails. Avoid changing both shape and color density from nail to nail unless a deliberate mixed design is the goal. More variations appear in the broader milky white nail designs collection.
Choosing the Right Milky White Shade
Neutral Translucent White
Choose a neutral translucent white when you want the cleanest version without obvious pink, beige, or blue. One coat gives a veil, two coats create the classic milky blur, and a third coat increases coverage. Test the dried or cured shade in daylight because some whites look neutral in the bottle but shift cooler once applied.
Pink-Milky White
A pink cast can soften the white against rosy or cool undertones and create a cleaner-looking nail bed. Ask for a pale white-pink rather than an obvious baby pink. The ideal result still reads white from a distance, with the rosy base visible mainly at the cuticle and where the light passes through the gel.
Warm Ivory or Cream
Ivory, cream, and vanilla-white gel can feel warmer and less stark than blue-white. These shades create a softer contrast on warm or deep skin tones, although the best result depends on personal preference rather than a rigid matching rule. Compare the swatch beside gold and silver jewelry if you are unsure which direction harmonizes more naturally.
Sheer, Medium, or Creamy Coverage
Coverage changes the entire manicure. Sheer gel leaves the free edge visible and has the lightest grow-out. Medium coverage blurs the natural line while keeping depth. Creamy coverage hides more variation and makes the white more prominent. Ask the technician to pause after two coats so you can decide whether the third layer improves the look or makes it too opaque.
How to Do Milky White Gel Nails
- Read the complete system instructions: confirm the gel, base, top coat, lamp wavelength, cure time, and removal method before starting.
- Prepare gently: shape the nails, address loose cuticle from the nail plate, and remove dust and oil according to the manufacturer’s directions. Do not over-file the natural nail.
- Apply the compatible base: use a thin even layer and cure only as labeled.
- Build the milky color: apply one to three thin coats, using light pressure and leaving a clean cuticle margin. Cure every layer for the specified time.
- Check opacity and sidewalls: look for streaks, pooling, and gel touching the skin before each cure. Correct uncured product safely rather than curing it in place.
- Seal and finish: apply the compatible top coat, cap the free edge when directed, cure fully, and complete any final cleansing step specified by the system.
- Remove correctly: follow the product’s soak-off or file-off directions. Do not peel cured gel from the natural nail.
Gel is not automatically the right option for every nail. If the surrounding skin becomes irritated or the nail changes unexpectedly, stop using the product and seek appropriate professional advice. A clean milky manicure should never require curing product onto the skin or forcing removal.
Wear, Care, and Removal
There is no universal wear time for every gel manicure. Natural nail condition, preparation, product compatibility, application thickness, daily water exposure, and impact all affect durability. Follow the specific brand’s wear and maintenance guidance rather than assuming every milky gel will perform identically.
Protect the free edge from being used as a tool, keep the hands moisturized, and avoid picking at lifted areas. If a corner chips or lifts, do not seal debris or moisture underneath with more product. Arrange a proper repair or removal according to the gel system.
Removal must match the product. Some gel colors soak off after the surface seal is carefully broken, while harder structural products may require professional filing. Never peel or pry cured gel from the nail plate. Forced removal can take surface layers of the natural nail with it and leave the nail thin or rough.
What to Ask for at the Salon
Say: “I’d like milky white gel nails in a short square, oval, or almond shape. I want a sheer-to-creamy white that softly blurs the natural nail, not a stark opaque white. Please use two thin coats first and show me the opacity before adding a third.” If you want warmth, ask for a pink-milky base; if you want a brighter result, request a neutral translucent white.
Choose the exact reference from the real Nail Color Designs category and point out the shape, opacity, undertone, and finish separately. This prevents “milky white” from being interpreted as one universal formula.
Frequently Asked Questions
What color should I ask for to get milky white nails?
Ask for a translucent, buildable off-white or soft white-pink gel rather than opaque bright white. Specify whether you want one-coat sheerness, two-coat blur, or a creamier three-coat milk-bath effect, and show a reference image.
Can you do milky white nails with gel?
Yes. Milky white can be created with compatible gel base, color, top coat, and lamp products. Use thin layers and follow the labeled curing and removal directions for that exact system.
How do I ask for milky nails at a salon?
Describe the shape, length, undertone, opacity, and finish. For example: “Short almond nails with two thin coats of neutral milky white gel and a high-gloss finish; translucent, not stark or fully opaque.”
Are milky white nails classy?
Milky white nails are widely chosen for clean, understated manicures because the soft color works across short and long shapes without requiring extra art. The precise preparation, even opacity, and glossy finish determine how polished they look.
Conclusion
Milky white gel nails can be sheer, pink-tinted, creamy, short, square, or elongated almond. The most reliable result comes from choosing the shape and opacity first, using thin compatible layers, and following one product system from preparation through removal. Save the exact look you prefer and use the salon wording to match it.
Try next: milky pink almond nails | pink gel nail polish | black gel nail polish | red gel nail polish